Garden Dahlias
Dahlias are very forgiving plants and will grow nearly anywhere without any interference from us at all. A single tuber left on the shed floor in june and forgotten about will be spotted in january with a half meter long, pale shoot and a flower bud on the end!
Our job( as far as I am concerned) is to help the plant reach its full genetic potential with as much effort as is required but as little effort as possible.
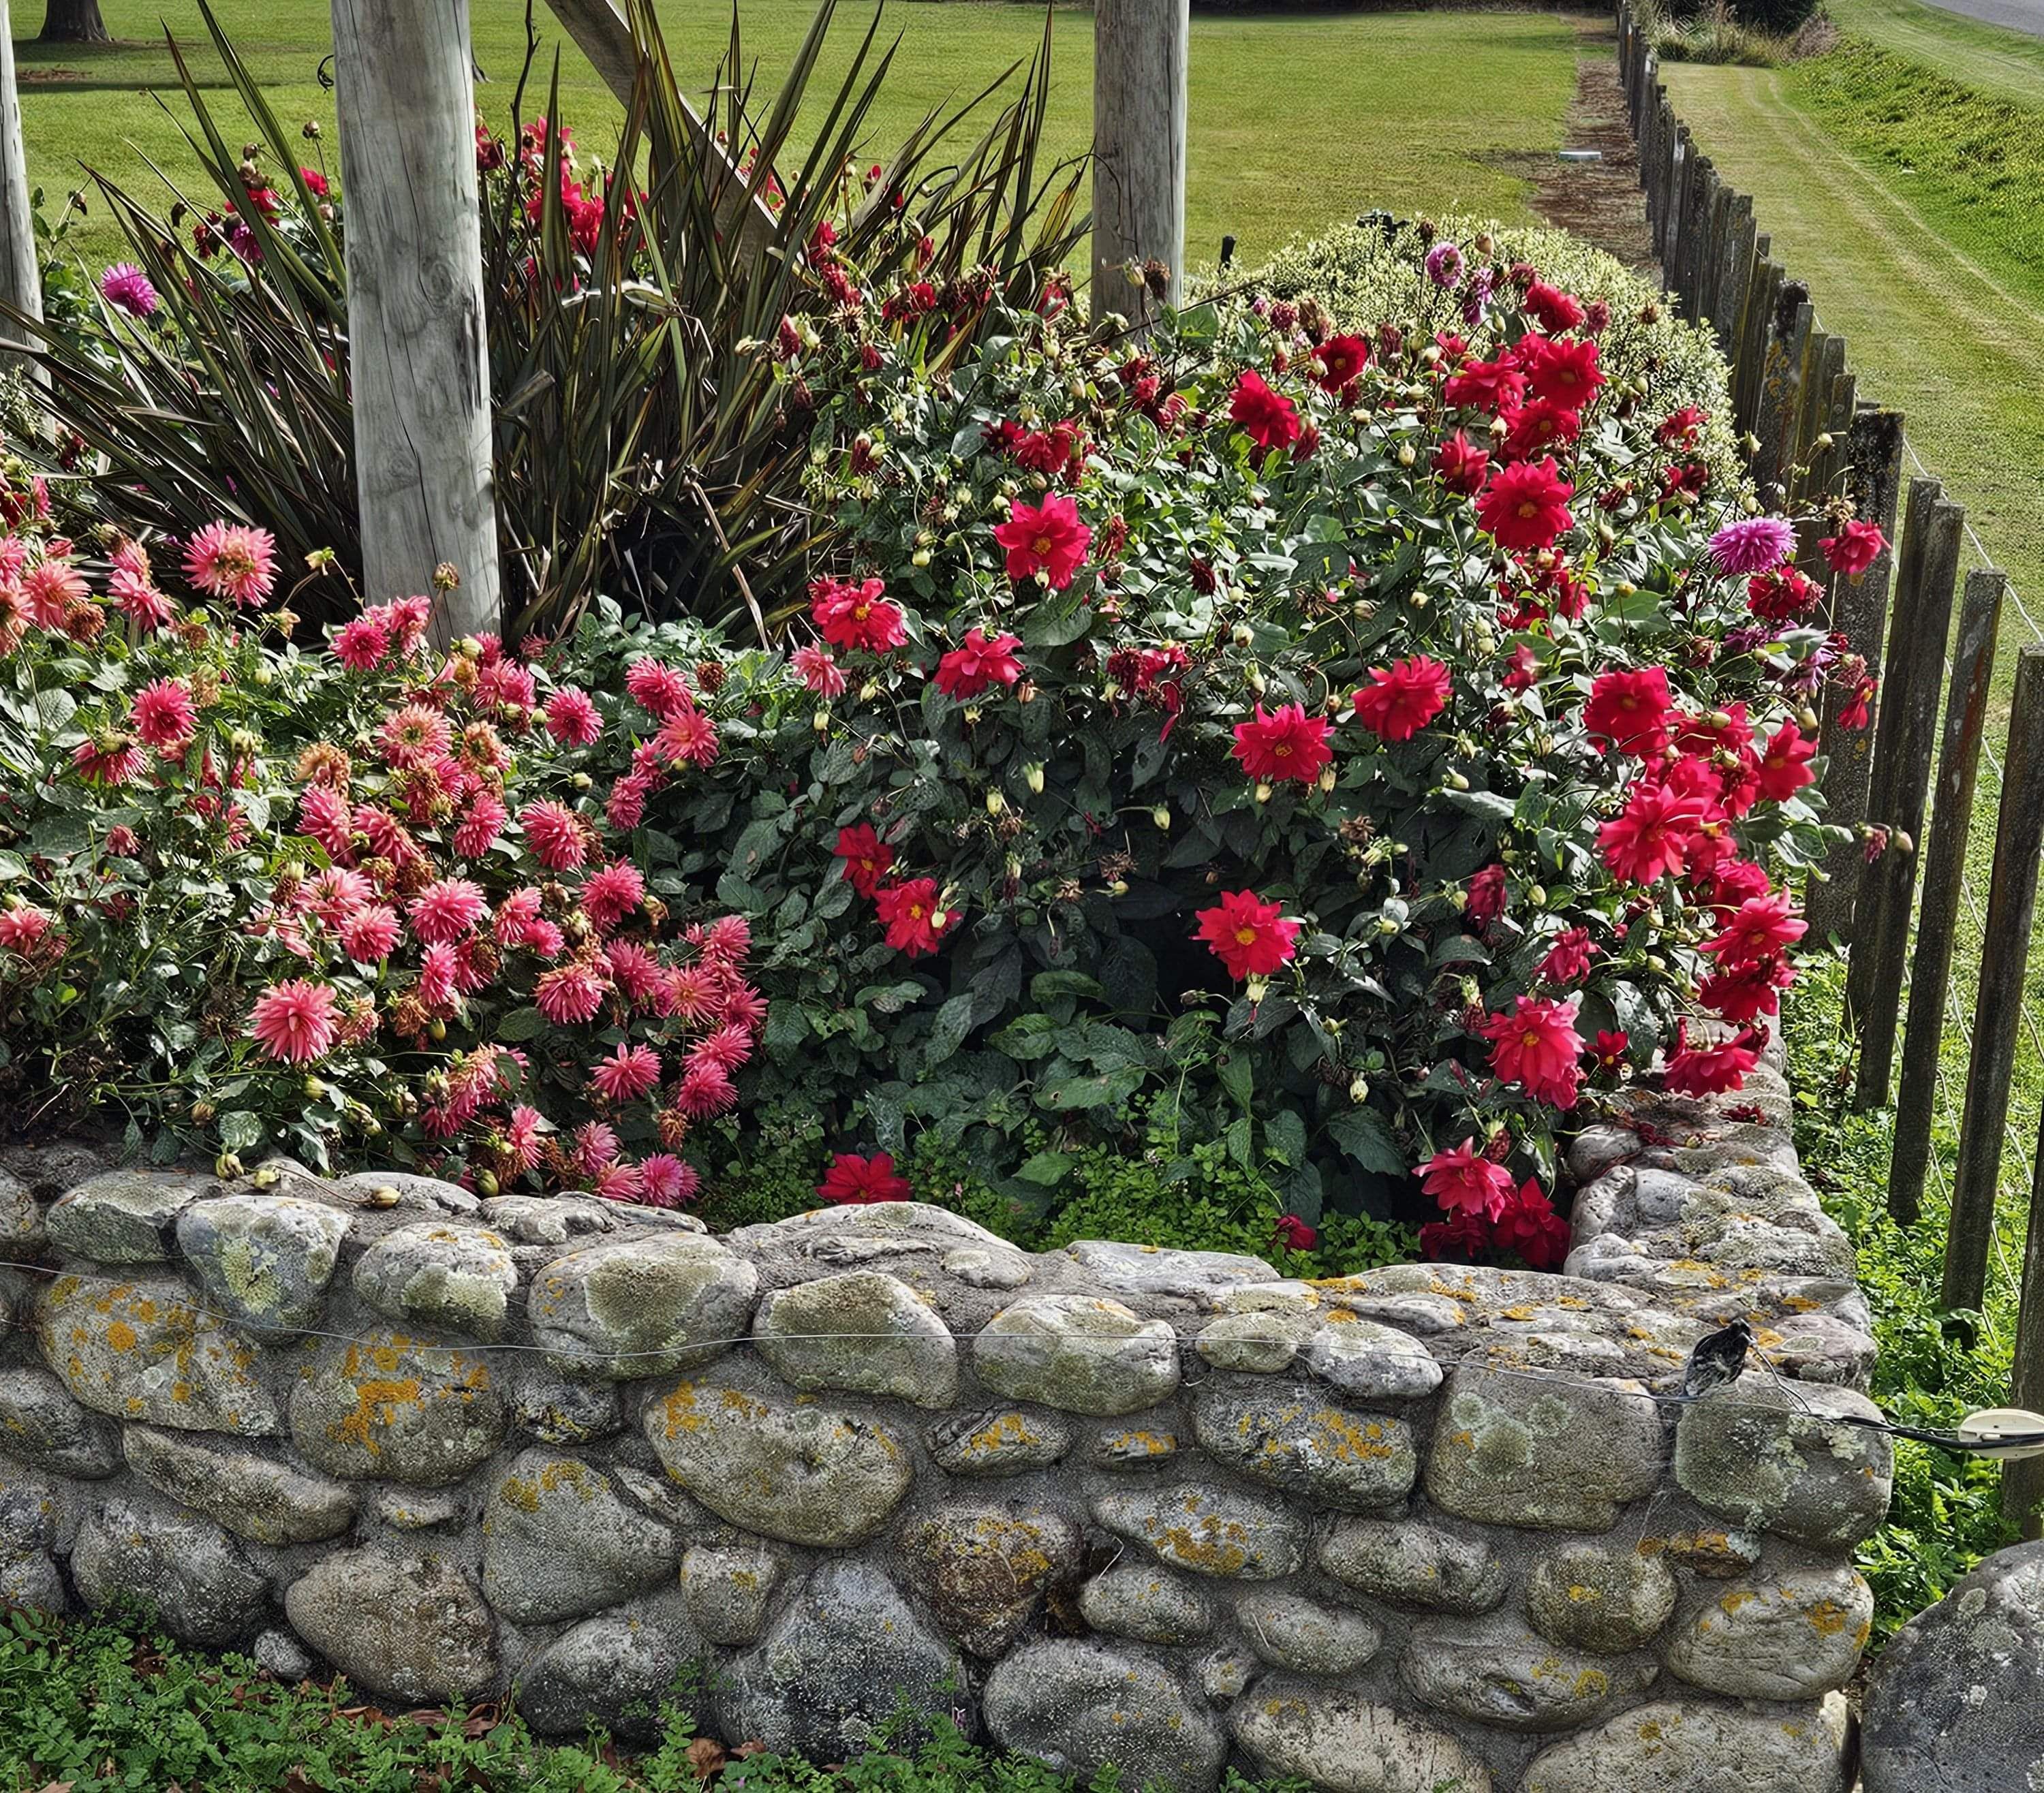
Garden dahlias are literally garden varieties that have been handed down through the generations for us all to enjoy. However, when compared to exhibition varieties their criteria are less exacting. They usually have far fewer petals, less definitive form and shorter, weaker stems. They rely on bloom mass for effect as the above picture shows. This is not a problem in a large garden or country setting where flowers are often seen at a distance. The above picture was taken at a golf course. It can be a problem however, if you are on a suburban section where space is limited.
As more wonderful breeders of new garden dahlias come on, there is an ever increasing choice of beautiful cut flowers available.
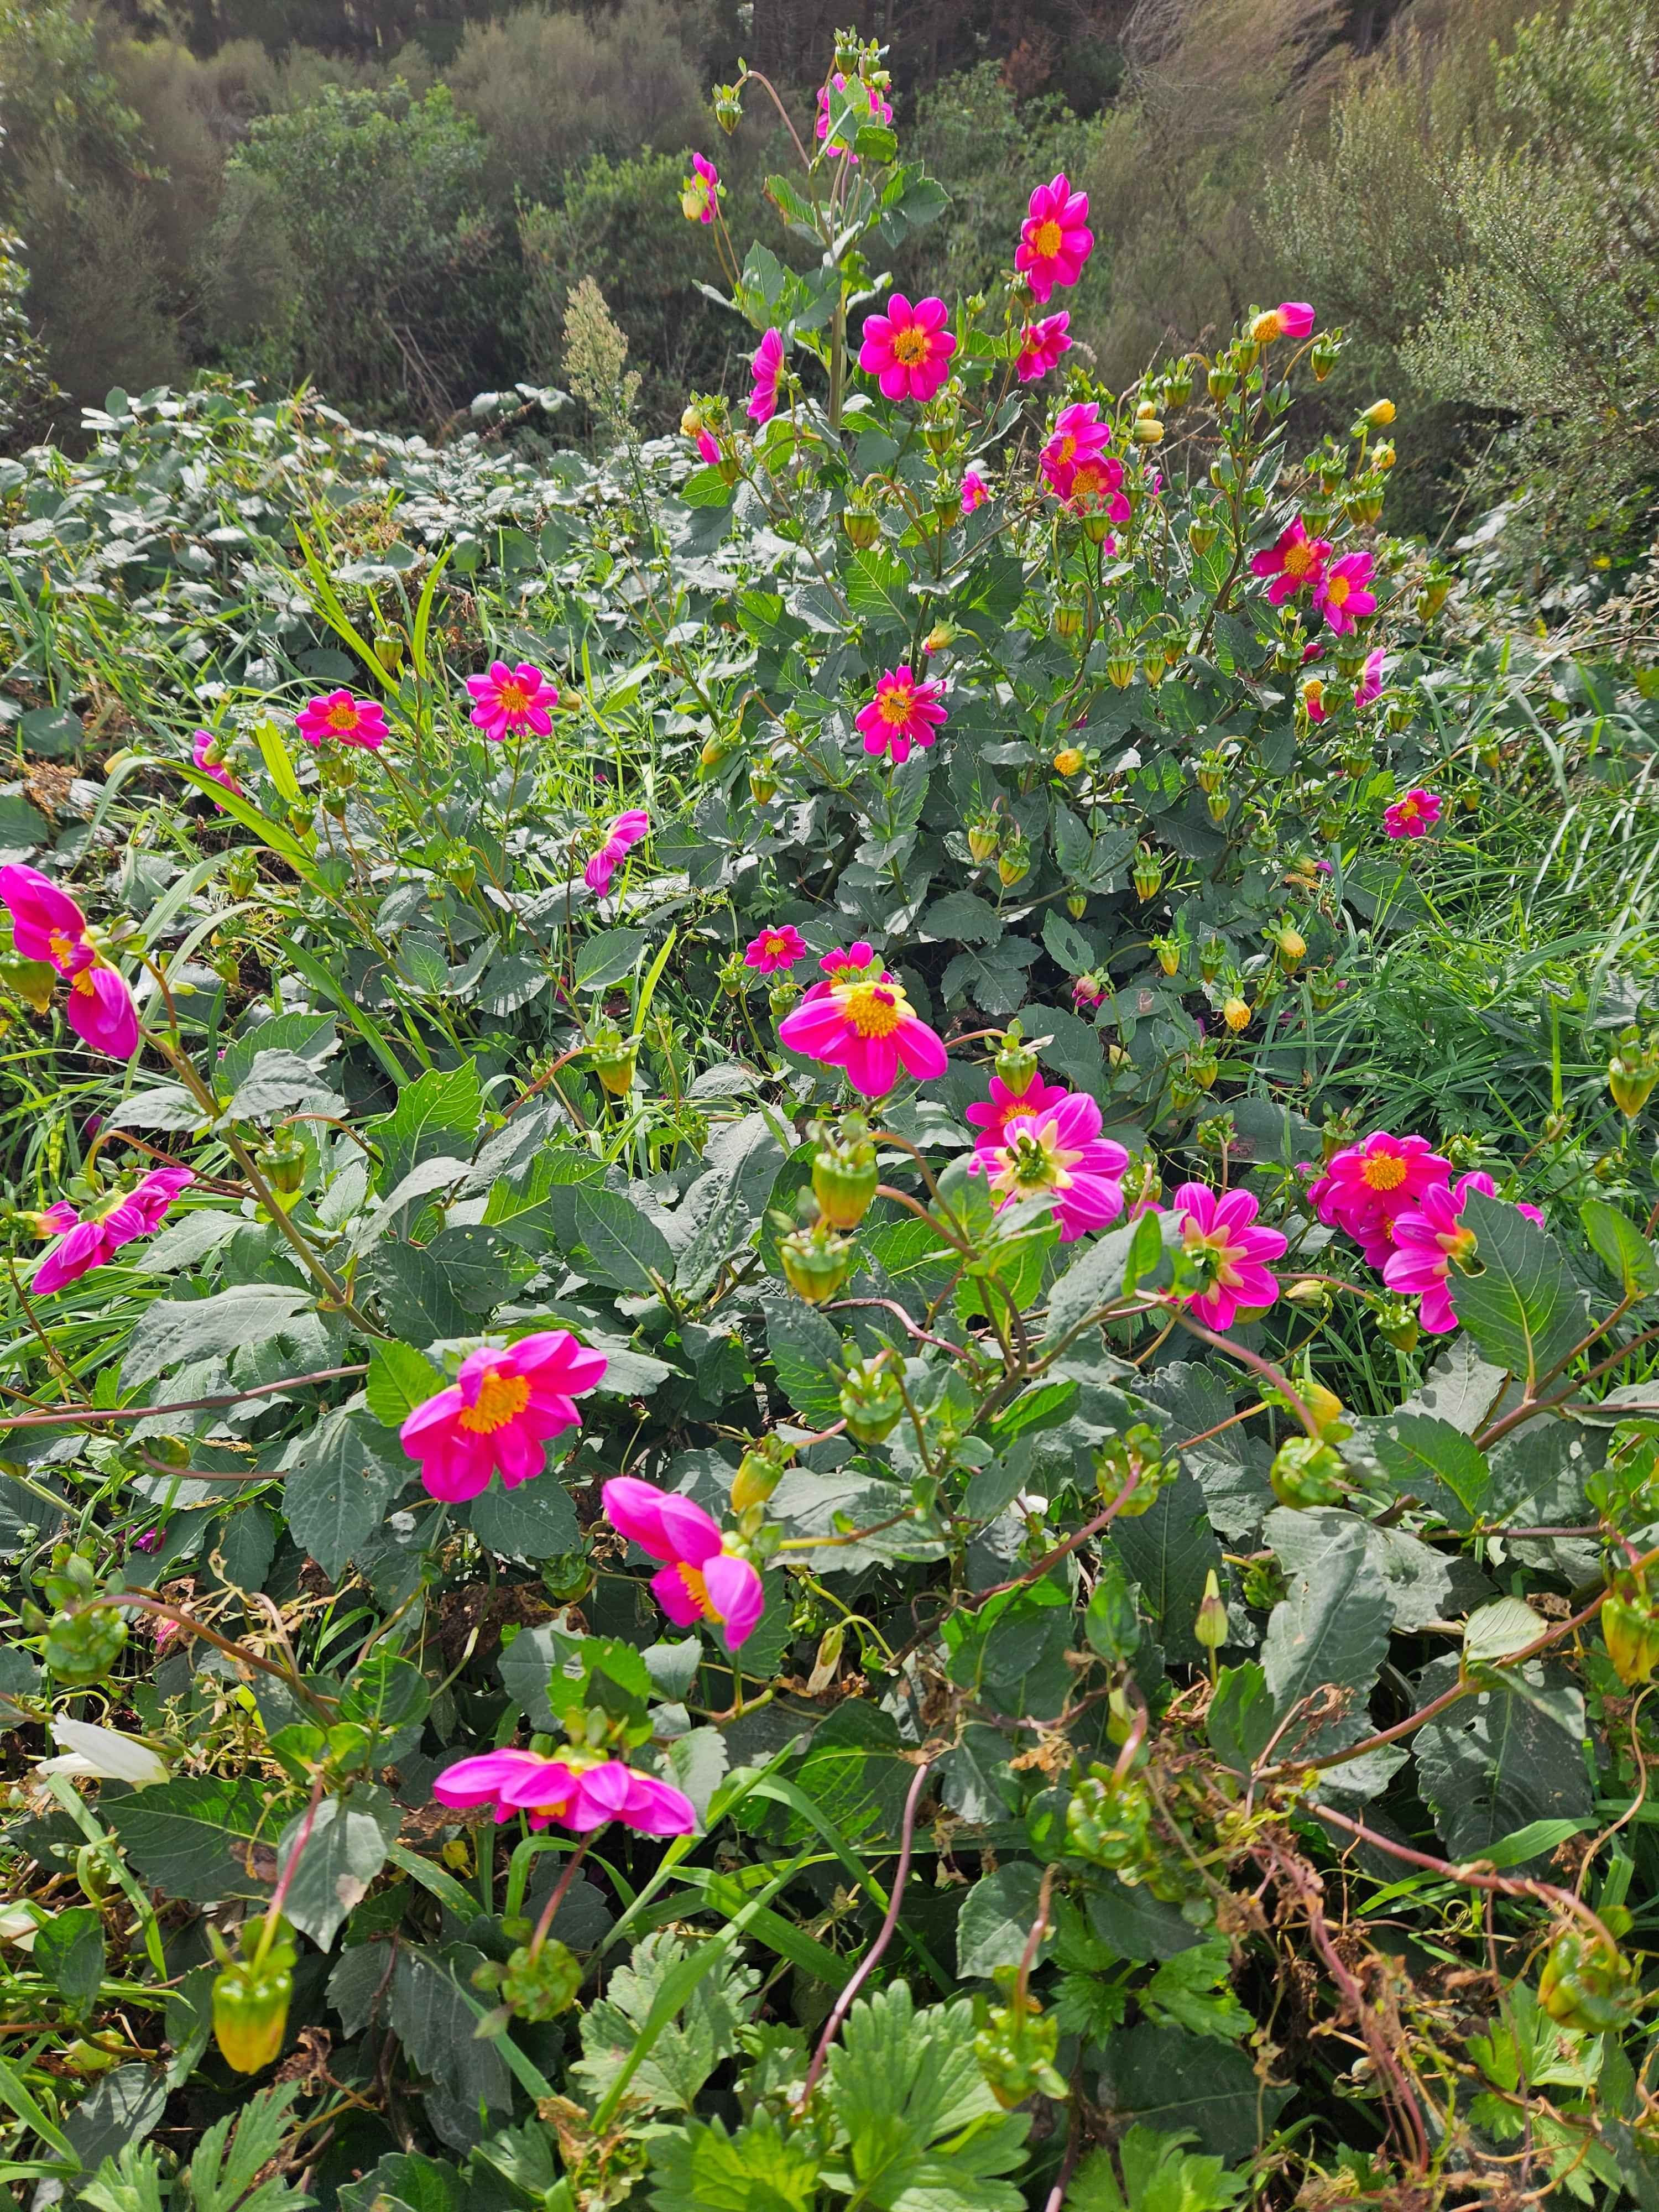
This little gem I found growing on the side of the road. No help from anyone.
Perfectly healthy that I could see from the surface.
Surrounding foliage had protected it from some mild frosts.
Took some seedheads home to see what would grow from it.
I have created the garden diary for you to follow month by month to help you have an idea of what to do, how to do it and when. The details are about what I do in my garden and are not set in stone. Climate, soil type, space and available time and finances are all variables. I hope the calendar works as a guide for you and your garden.
I have only grown exhibition( not garden )varieties in my 40 years plus of growing and showing dahlias. However, this year, 2024, I had the occasion to grow a Penhill Watermelon. Unintentional, it was supposed to be something else. Good old mislabel.
I applied all the criteria of growing an exhibition show bloom and came up with this.
This plant was fed, staked, stopped, debranched down to three laterals, disbudded and had its stems caned.
This tells you that with a little effort even a garden variety can be very rewarding. It went on to produce three more blooms later.
To go that bit extra for your blooms please go to the exhibition information.
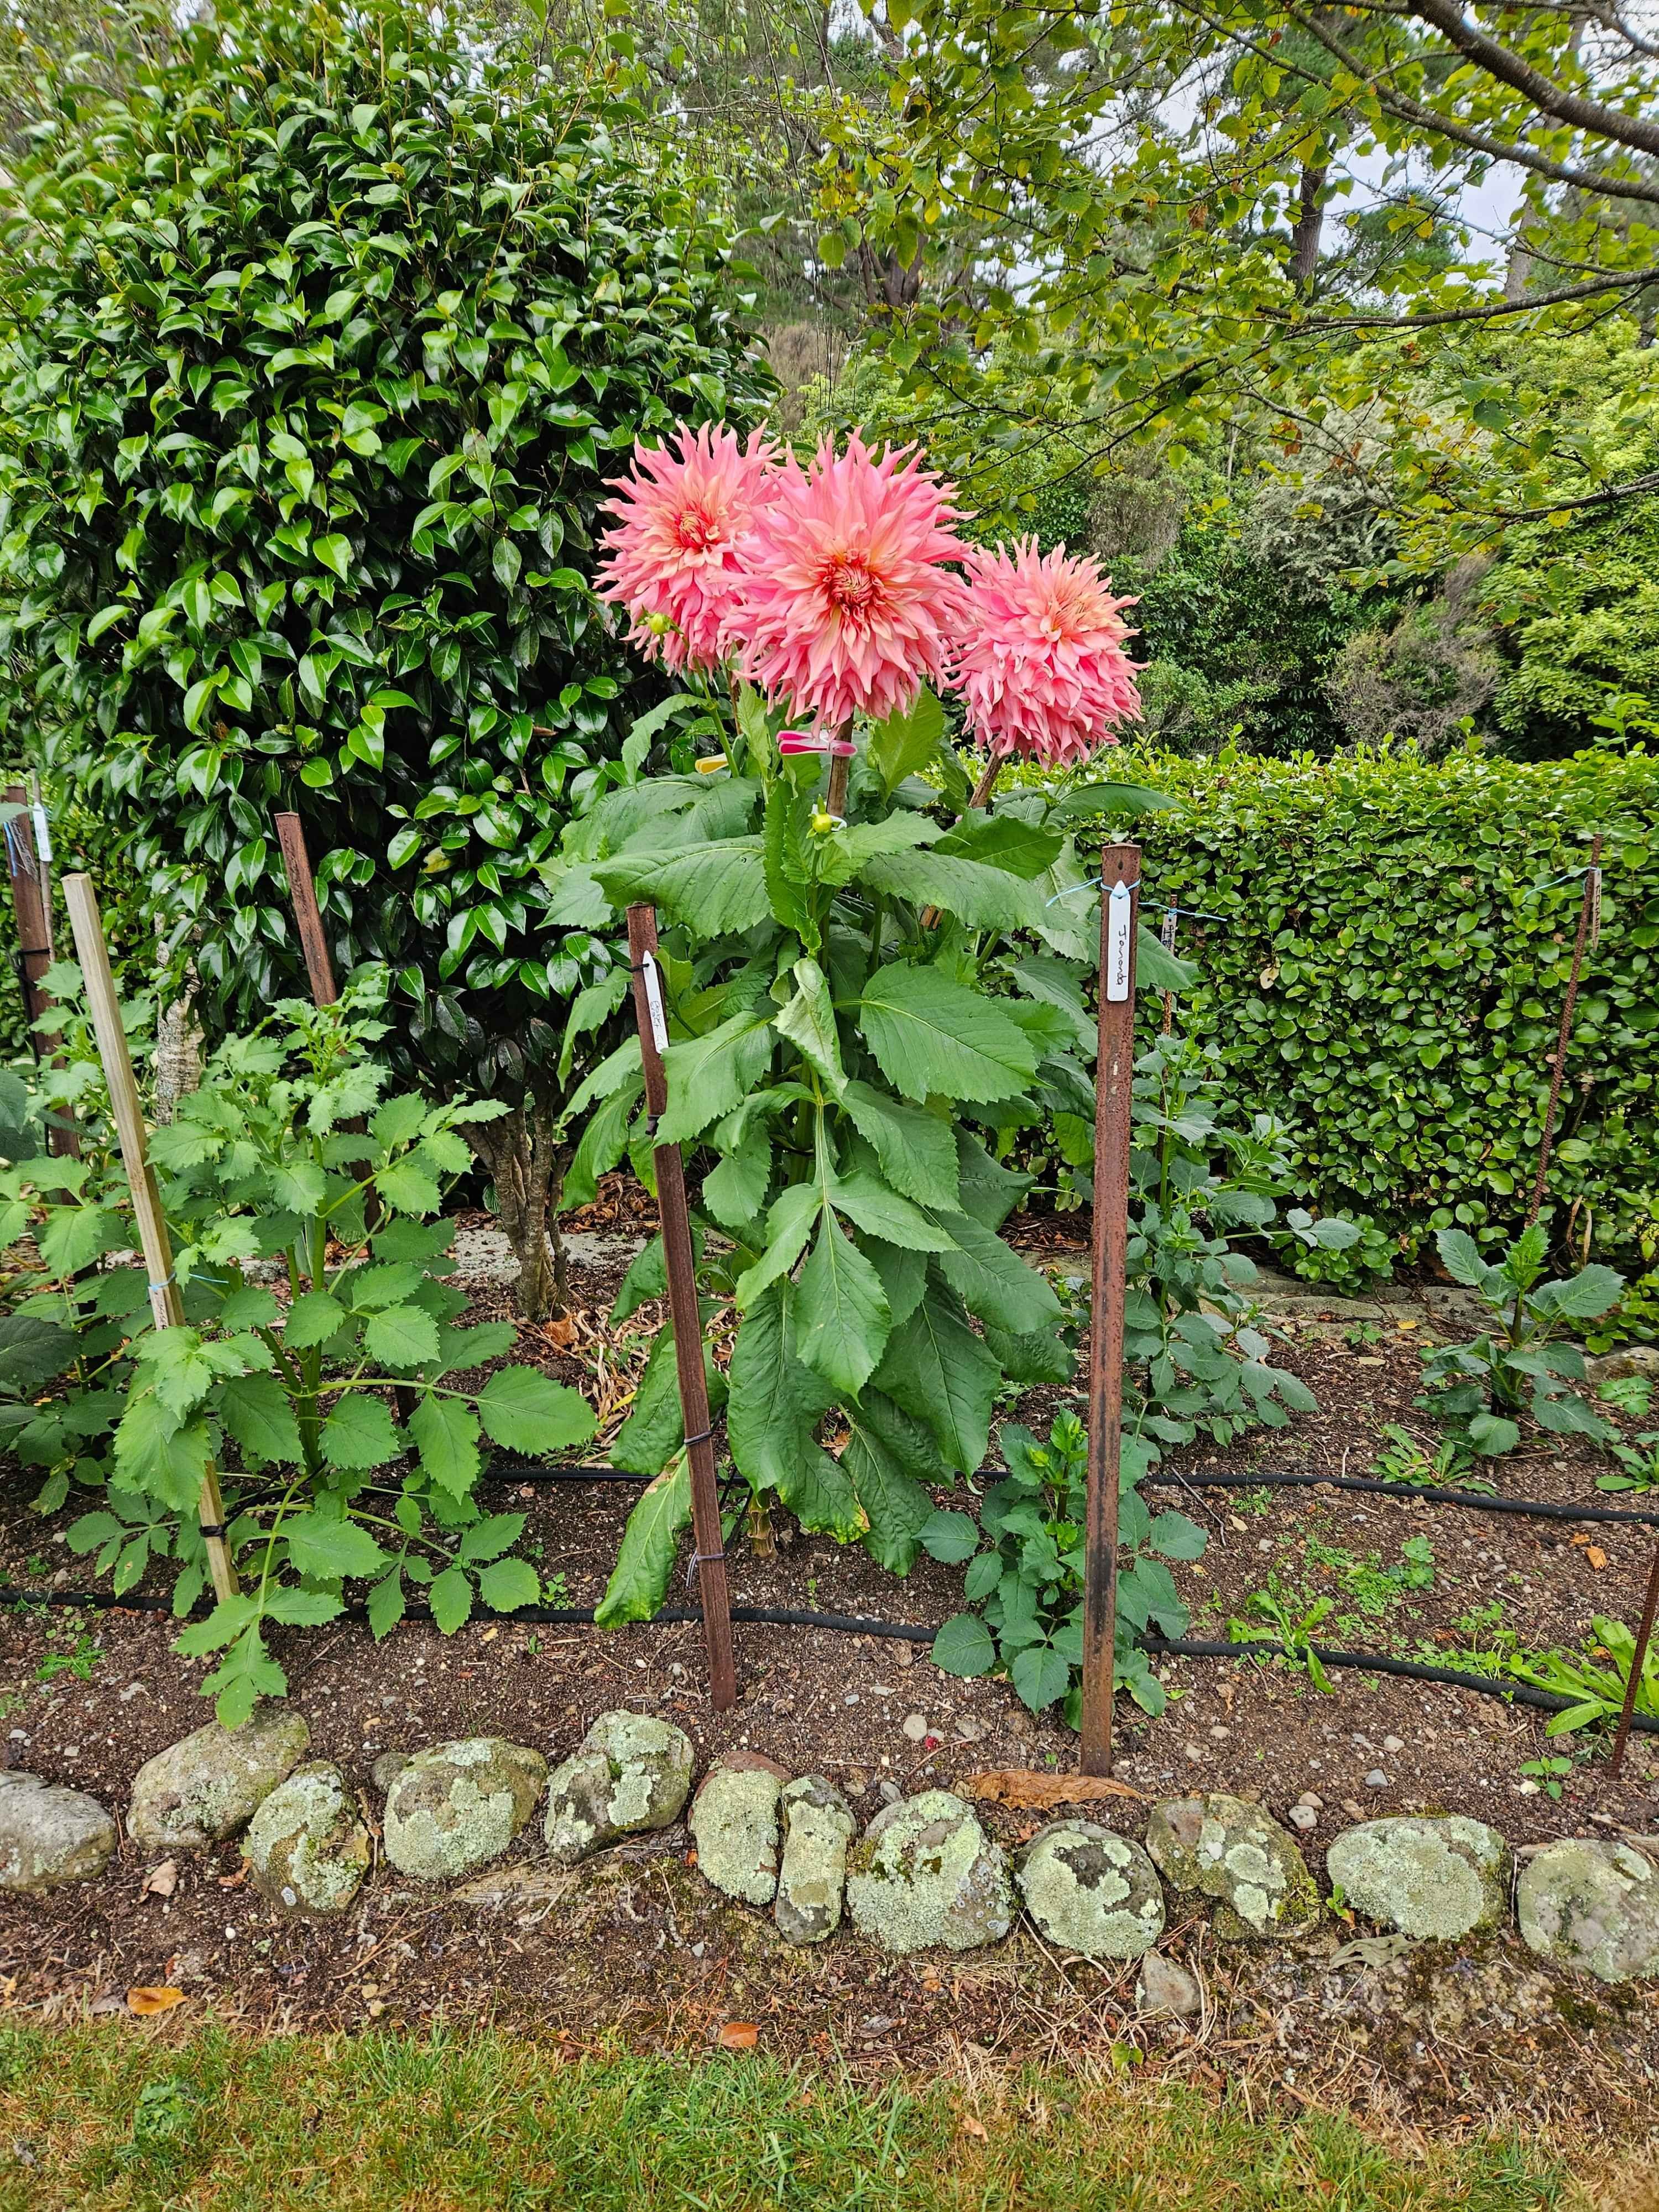
When growing garden dahlias it is important to choose not only pretty flowers but plants that are prolific bloomers, produce many tubers and shoots and that have robust health. Stems also need to be taken into consideration. They should be long, strong and in proportion to the bloom. A good angle from stem to bloom makes for ease of viewing in the vase.
If the basics of feeding are followed as per the data in the diary then there should be no issues with mineral deficiencies.
Bugs!
Earwigs, thrips, red spider mite, grass grub beetle, caterpillars.
All these bugs can be defeated with Ripcord. A miticide might be needed to eradicate the last of the red spider mites. These mites can can have a yellowing effect particularly on lower leaves. Earwigs- if you want to use non chemical means of eradication then trapping is the most successful. Earwigs like to hide. If you place screwed up newpaper sheet in the branches, a match box, piece of pipe or bamboo in the plant overnight then in the morning take a bucket of very hot water to the garden. Open your trap over the hot water and the earwigs will fall in and be dispatched immediately. Keep up with the traps until no more earwigs caught. This is a little fiddly and time consuming but worth it if you dont have many plants and don't like chemicals. If you cane your stems to get them straight then the earwigs can hide in these too and survive in spite of spray, especially if the blooms are not sprayed.
If your plants are close to a hedge then you might need to consider spraying the hedge too. They can harbour lots of pests.
Slugs and snails can be dealt with using slug bait. There are many alternatives you can use but I don't feel are as effective. If you use a plastic bottle with the bottom cut out and tipped on its side you can stop the rain from damaging the bait and keep pets away from harm. Of course nothing beats going out after dark with a torch, good gumboots and a vengeful attitude.
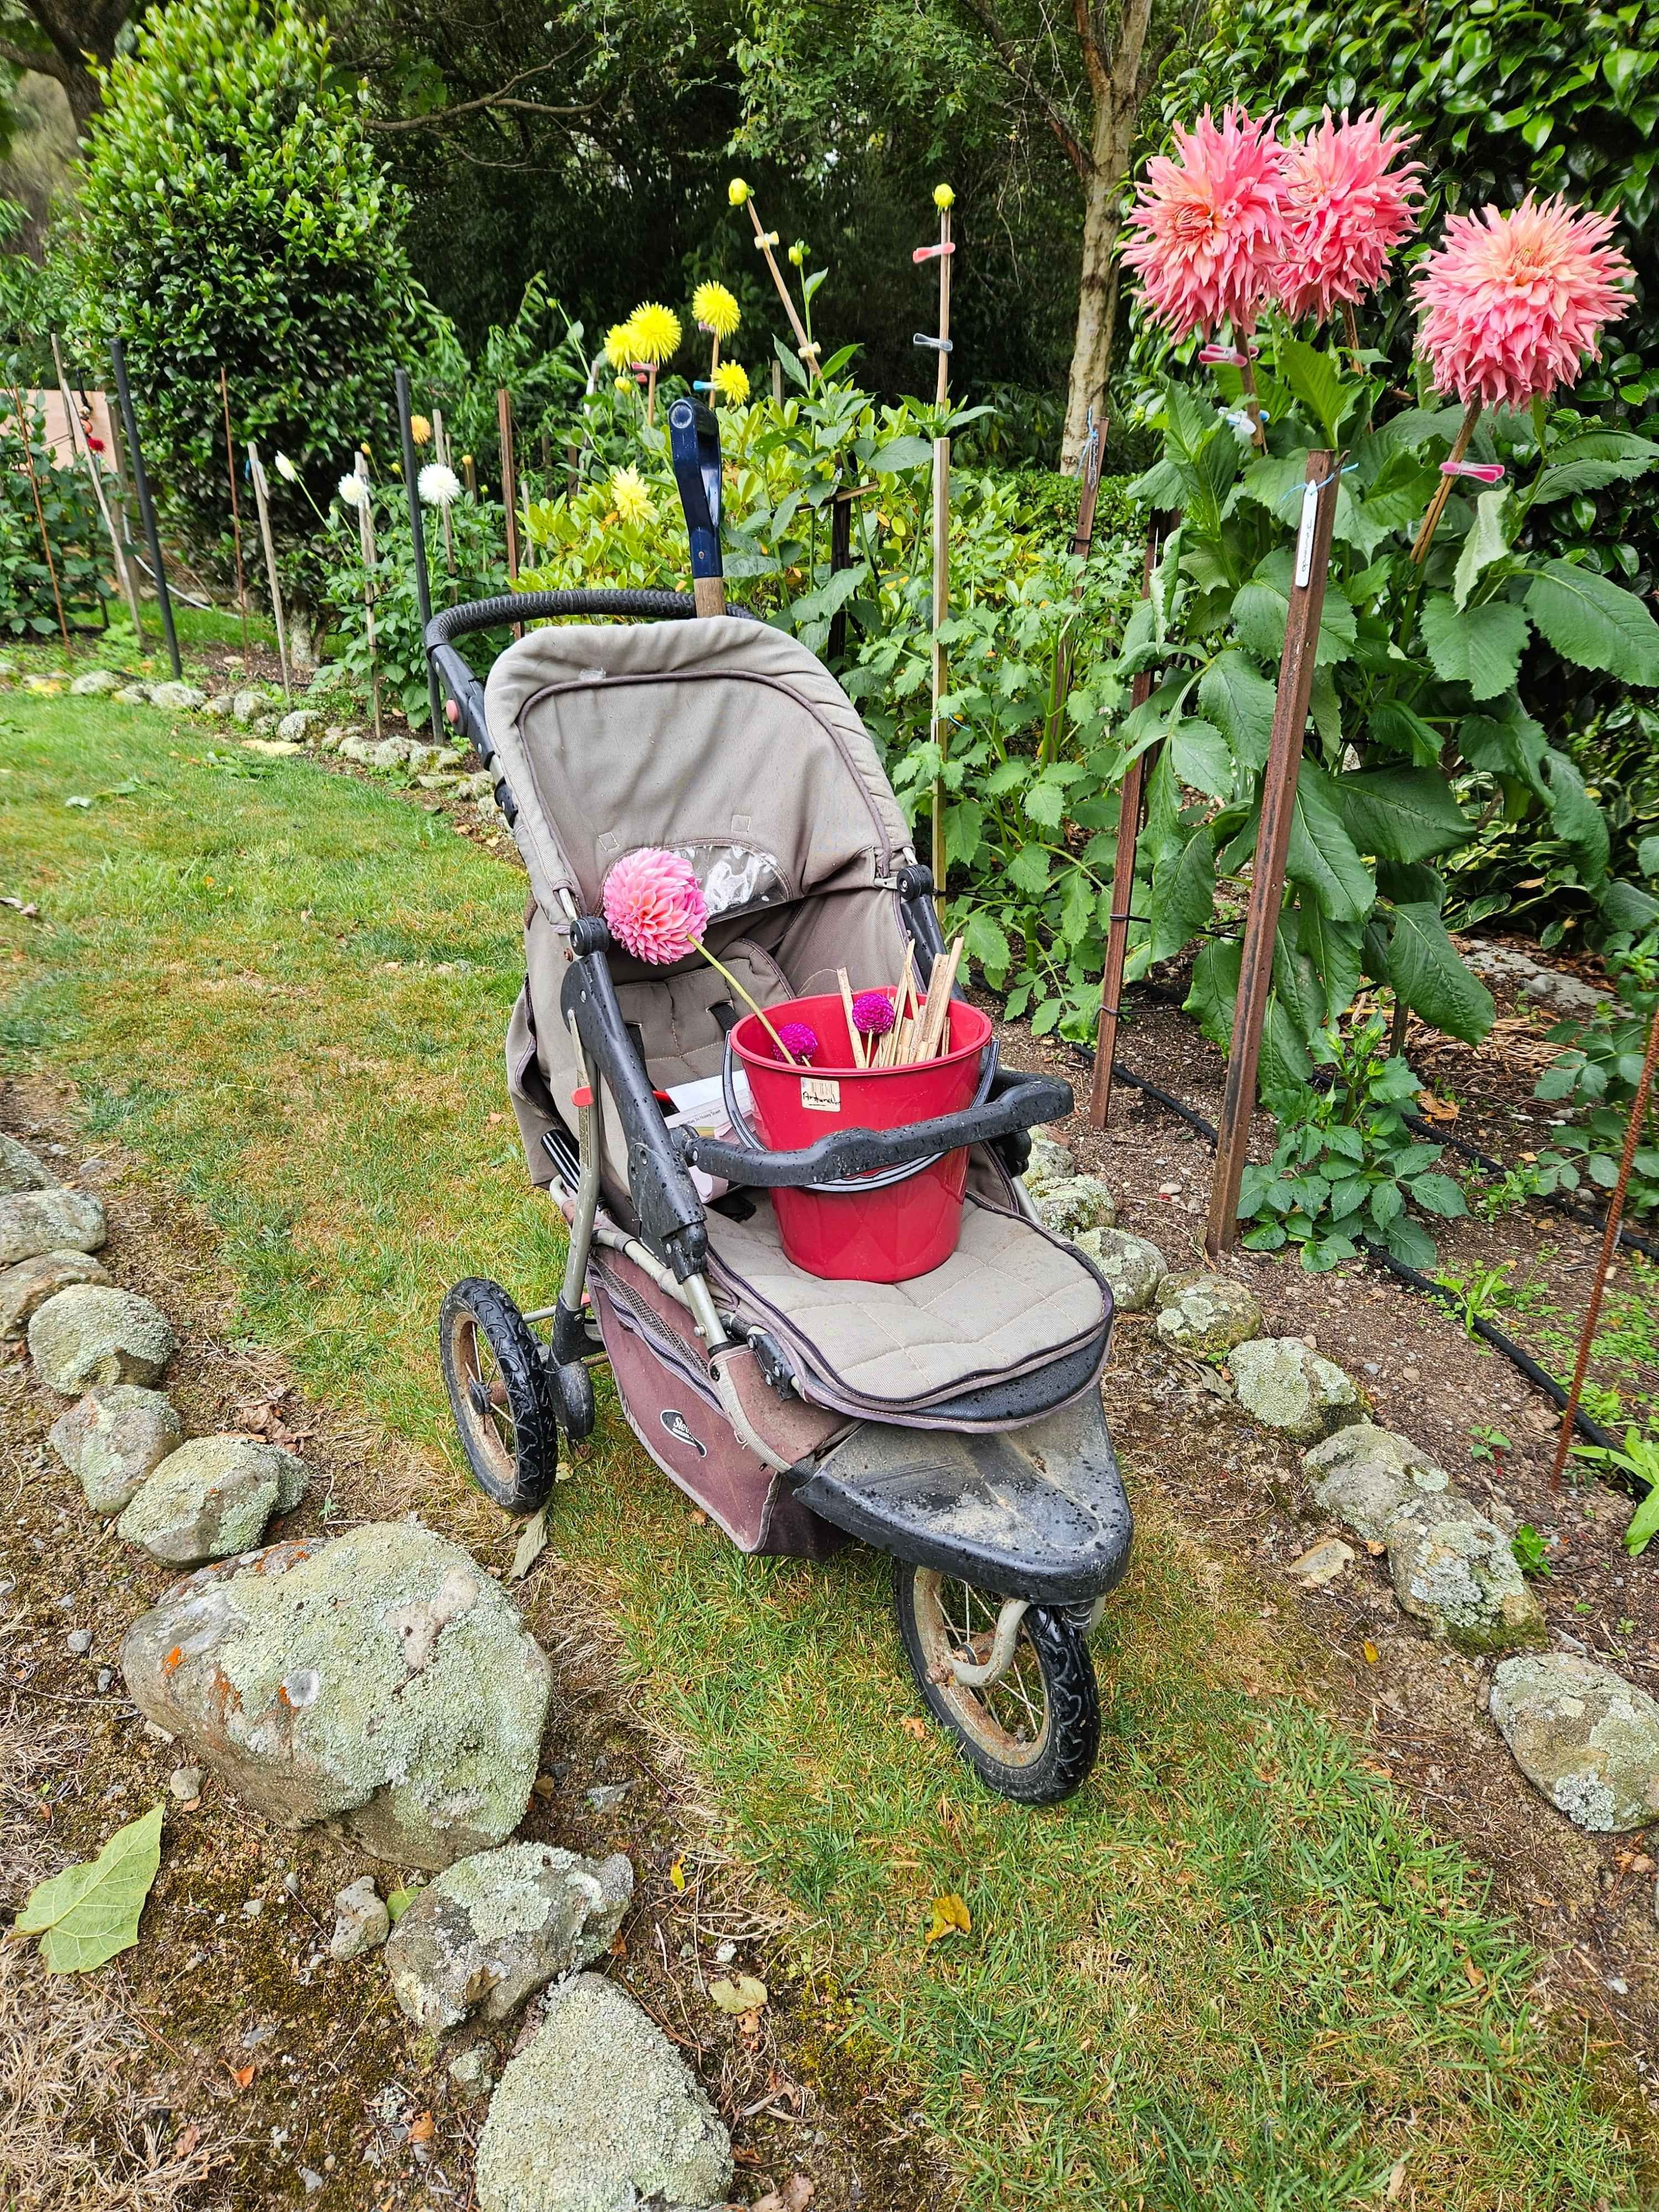
My favourite go to tool in the dahlia patch!
It carries everything I need. I keep it loaded up and just have to push it out of the shed.
Building a new dahlia bed.
It is very easy to start a new garden bed and then create add ons as time goes by. Eventually ending up with a very patchwork look. I am guilty of this too. So one of my beds is undergoing a renewal. Follow the pics to check out progress.
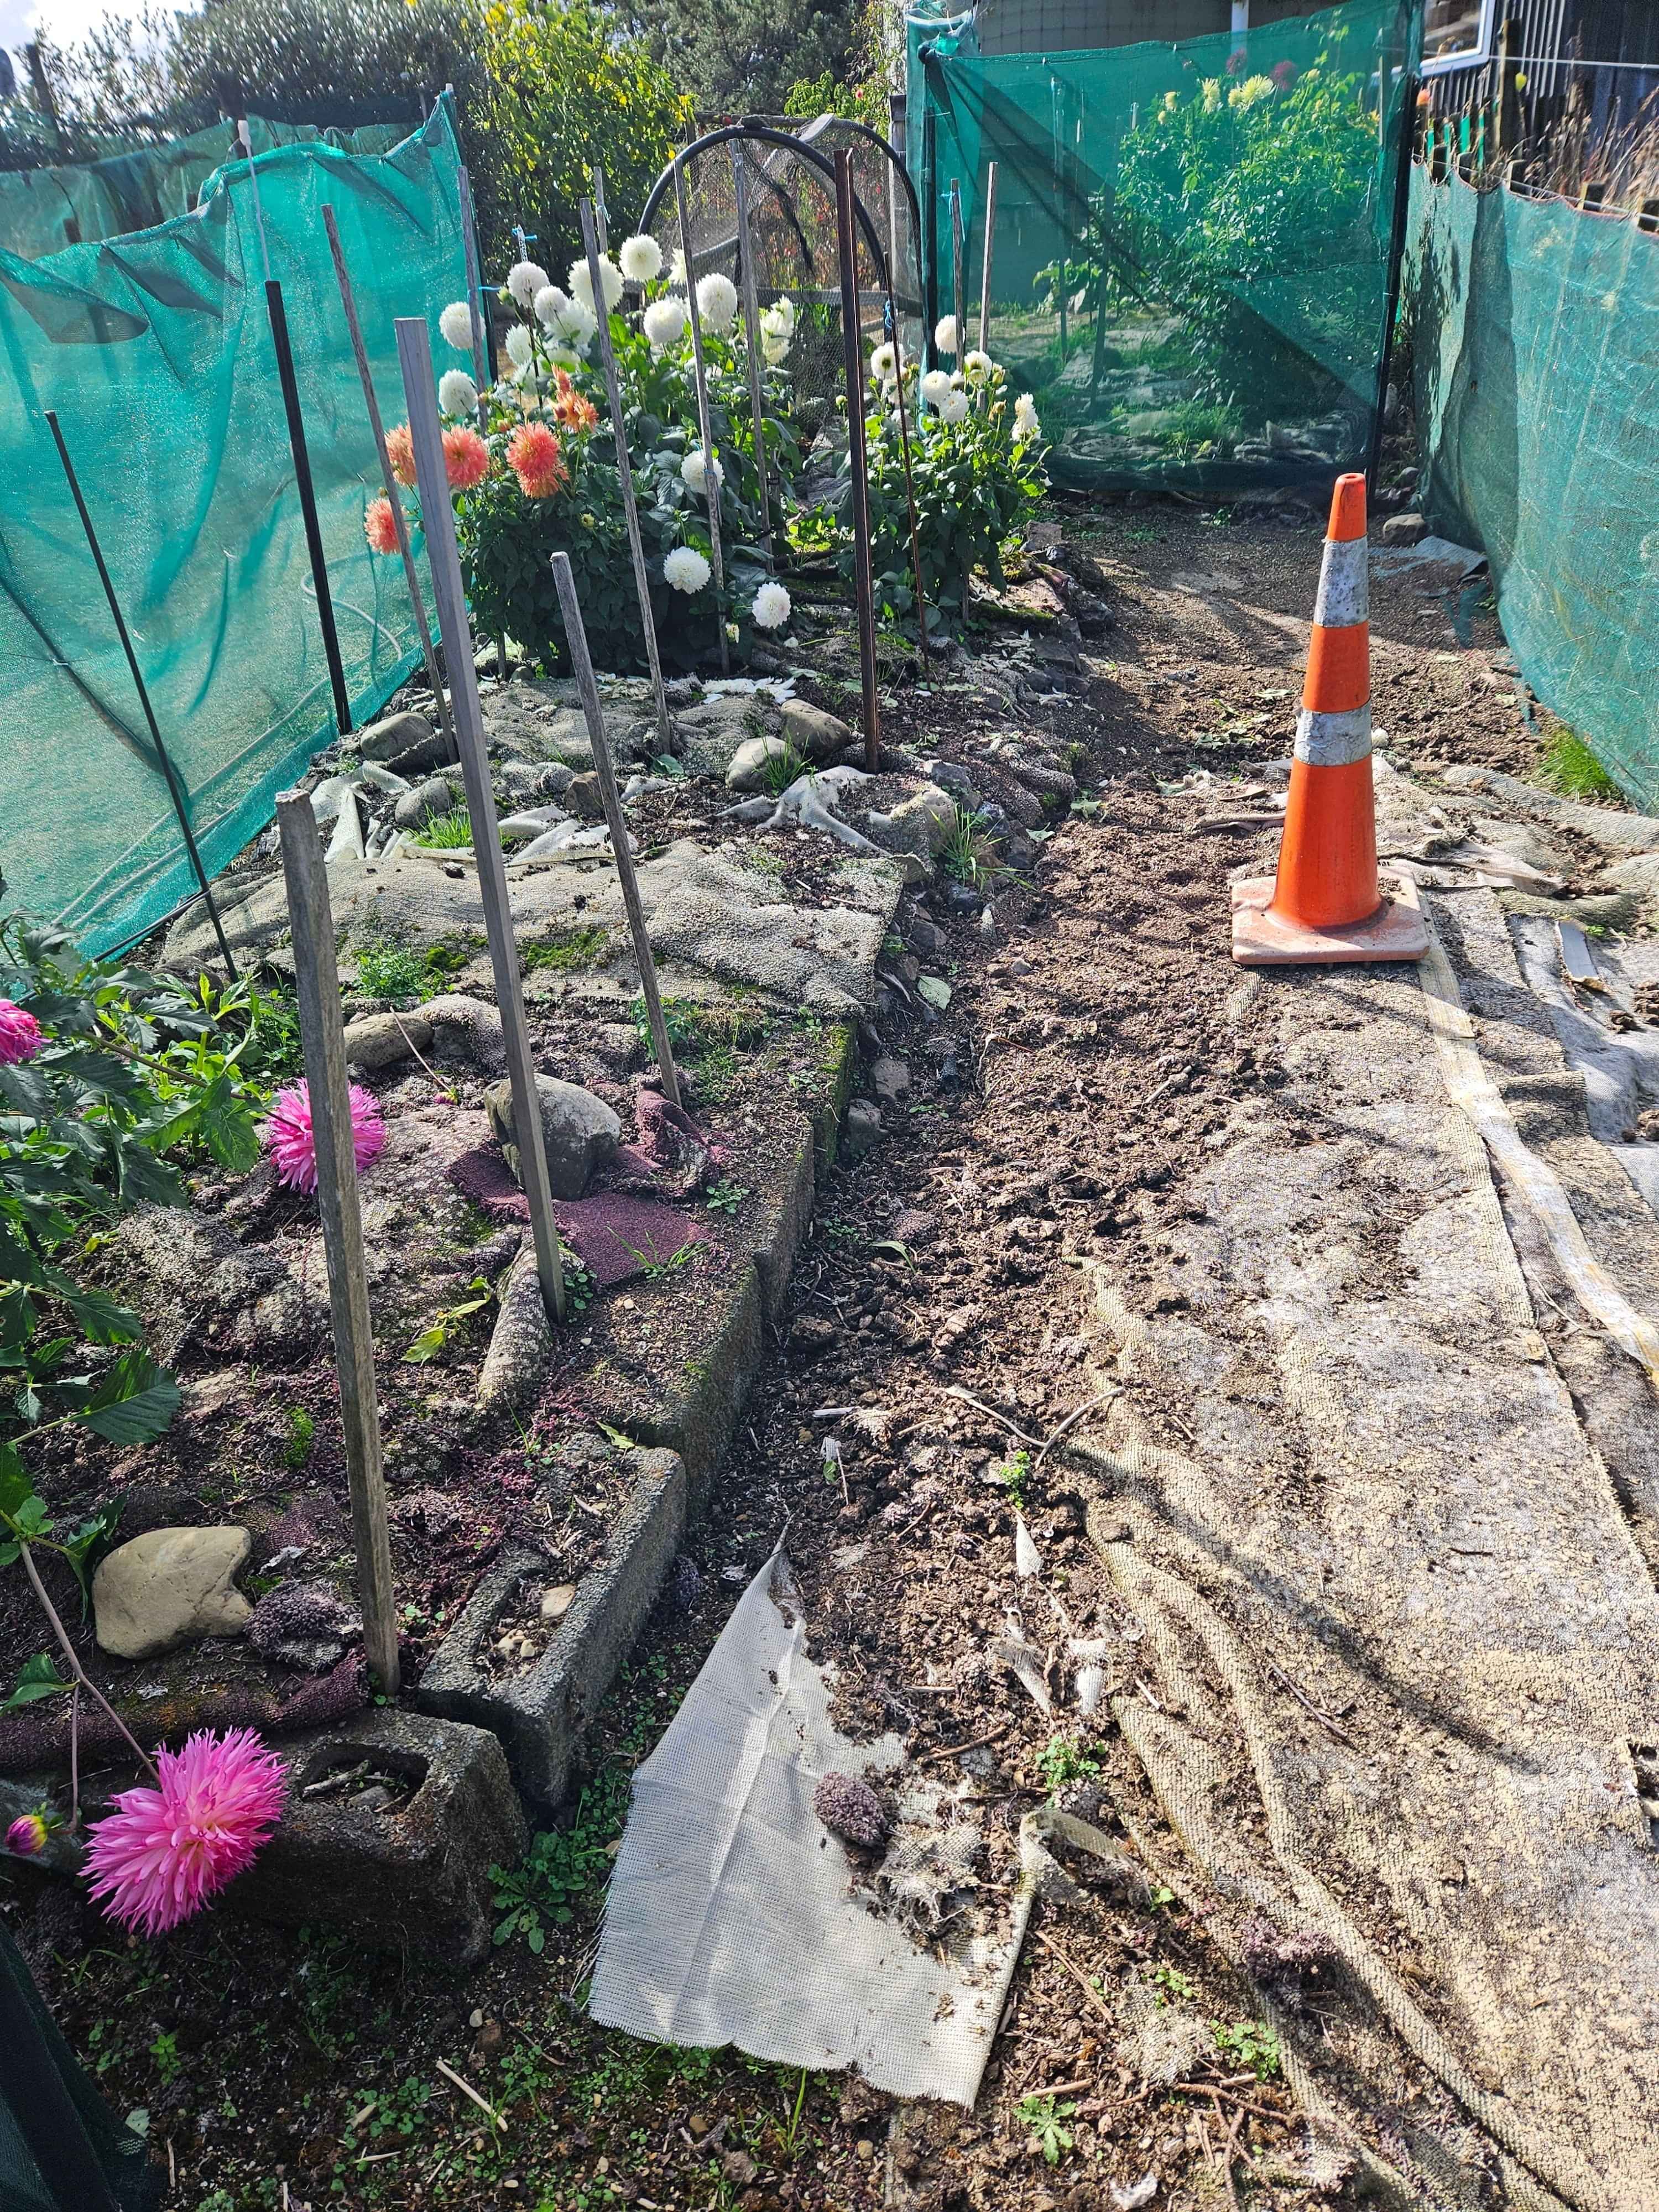
This bed goes up a slope.Dahlias on the left and a worm farm under the carpet on the right. The wind netting has sagged due to the posts and wire not strong enough. This garden takes the full force of the prevailing westerly.
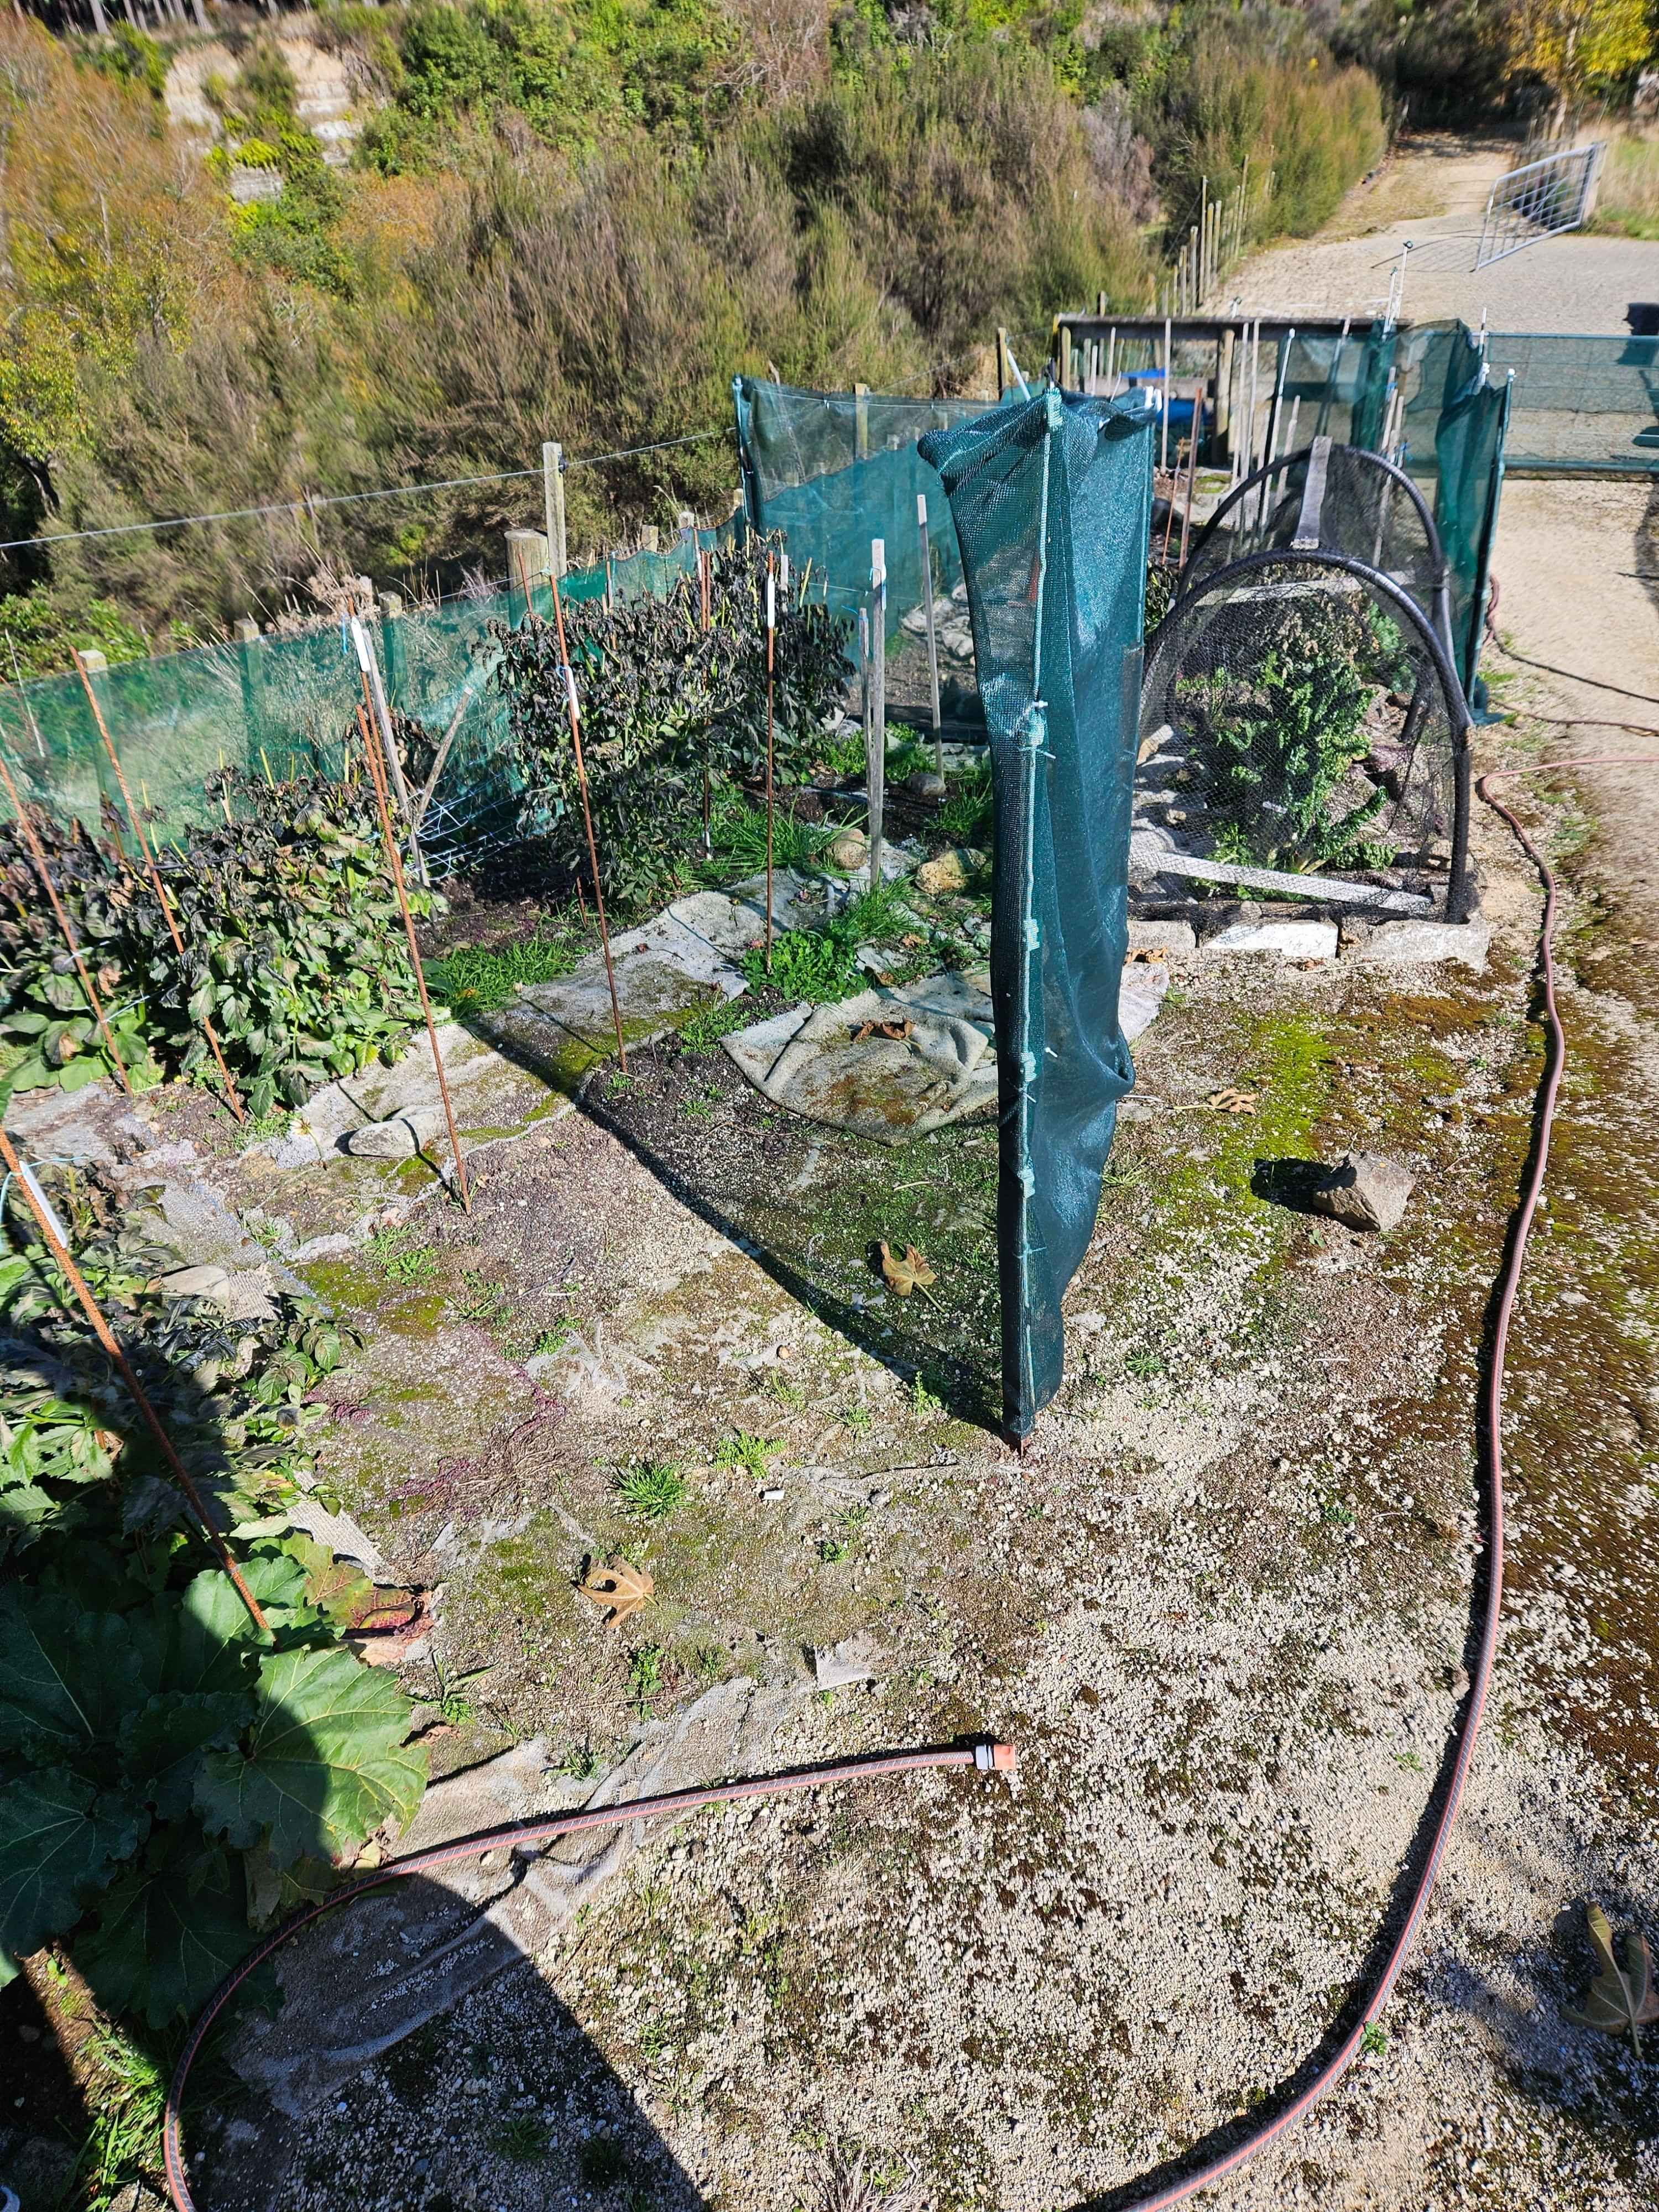
This bed is above the first one with seperate netting and a silverbeet patch under the hoops in the middle. There is one row of plants on far left in the shadow.
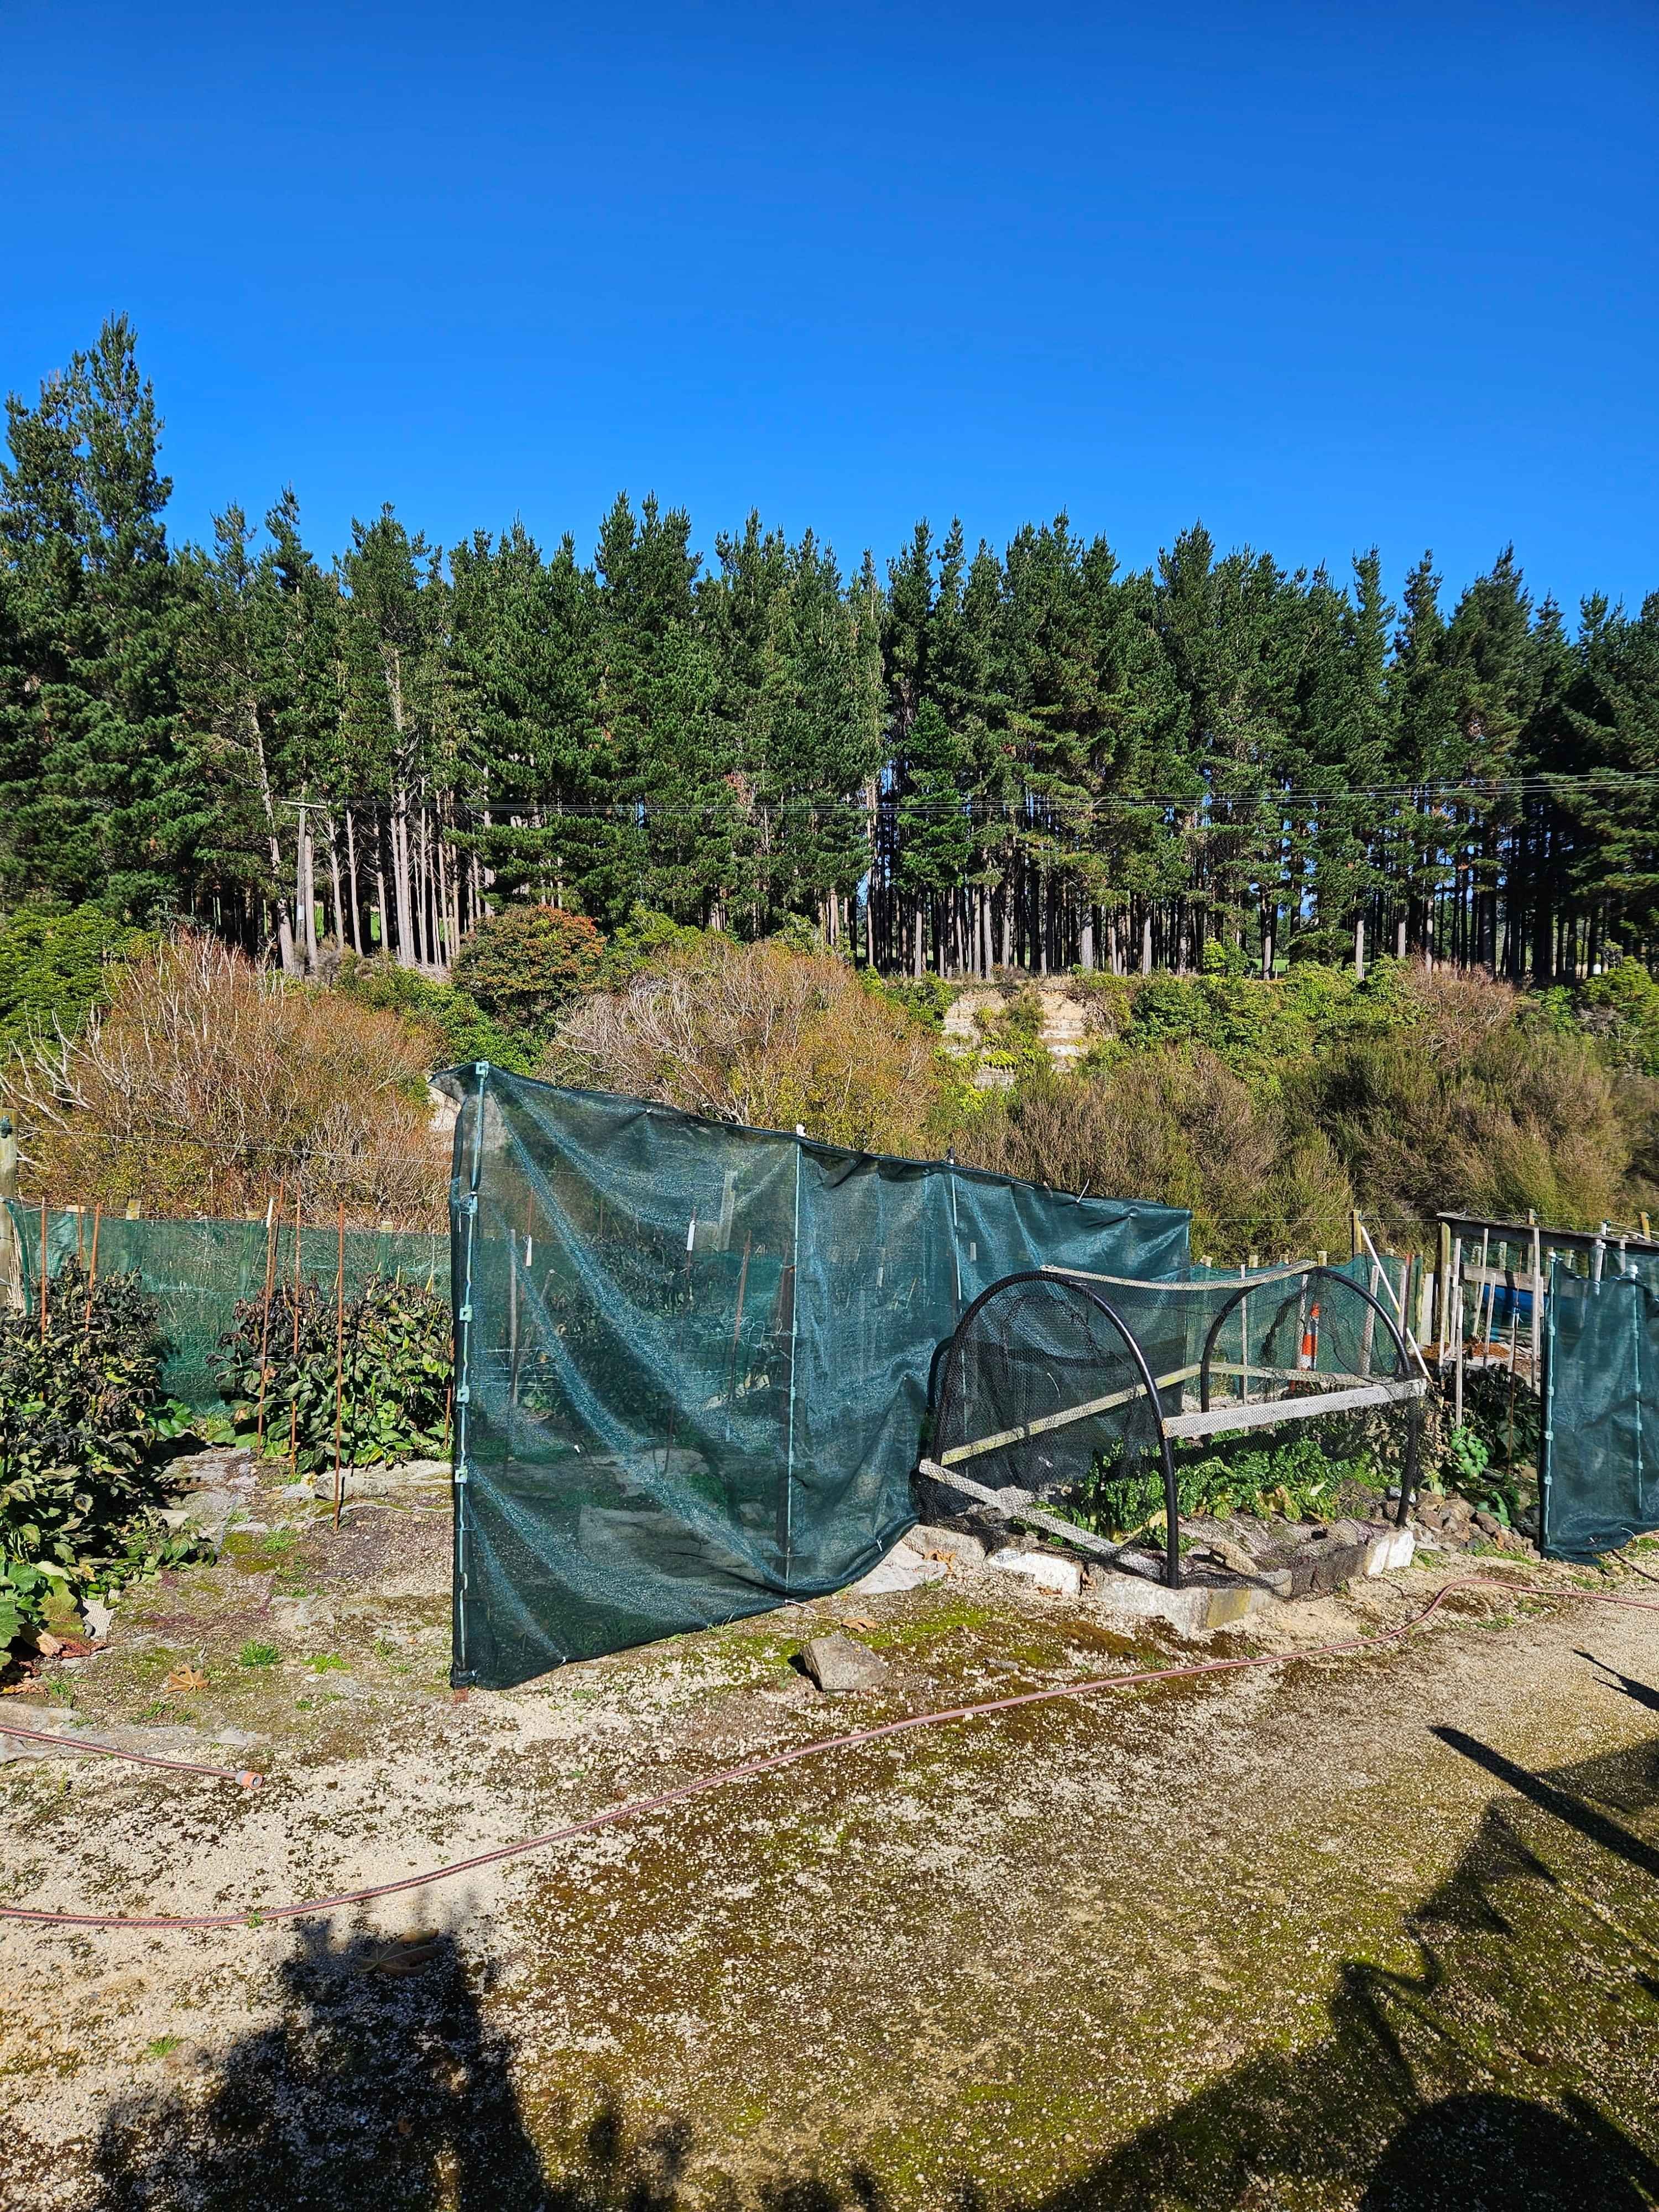
Altogether a bit of a mess. not enough room to access plants and inadequate wind shelter.
I decided to shift the worm farm to a completely different site further away. All the beds were elevated using rotten rock and stones. These were all dismantled and used elsewhere in the garden. I had some concrete blocks and managed to source some more to complete the new bed edges. Yes, the blocks aren't all identical but they were very cheap and do the job. One just has to be resourceful.
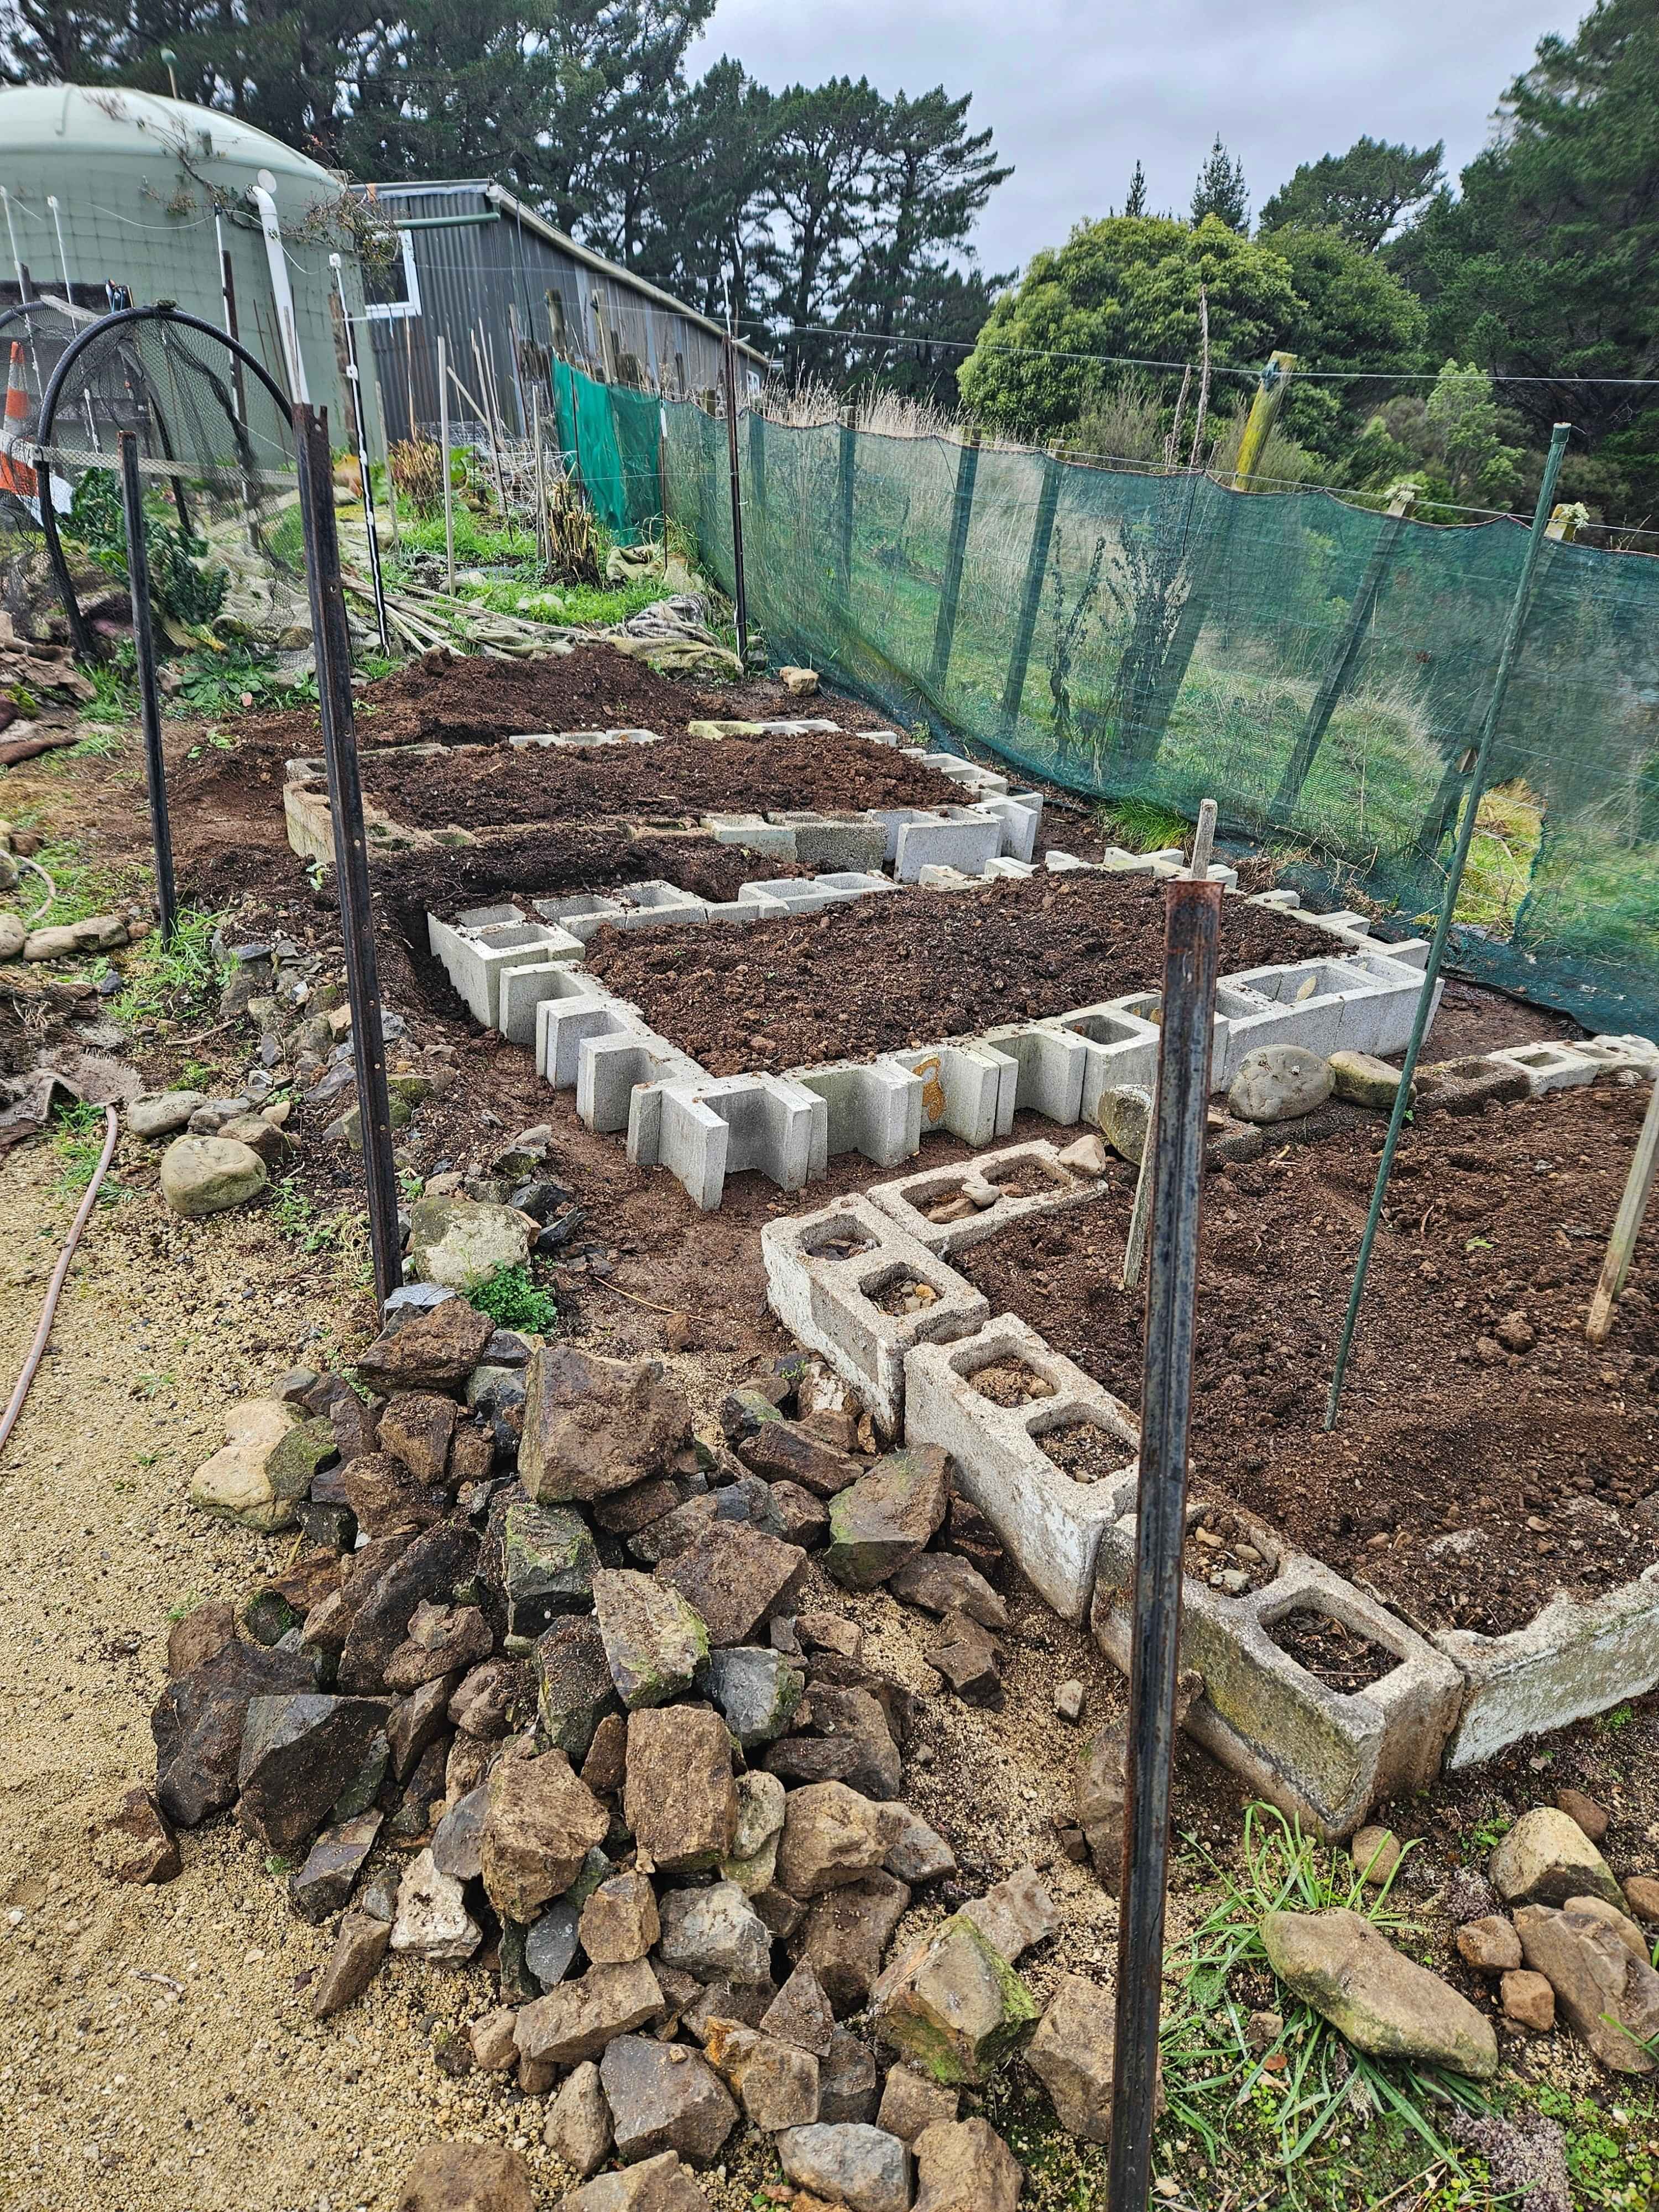
Work under way. The concrete blocks are wide enough and heavy enough to stay put on their own and let the edges be flexible to cope with the slope. Rocks were repurposed and waratahs stacked till all beds finished.
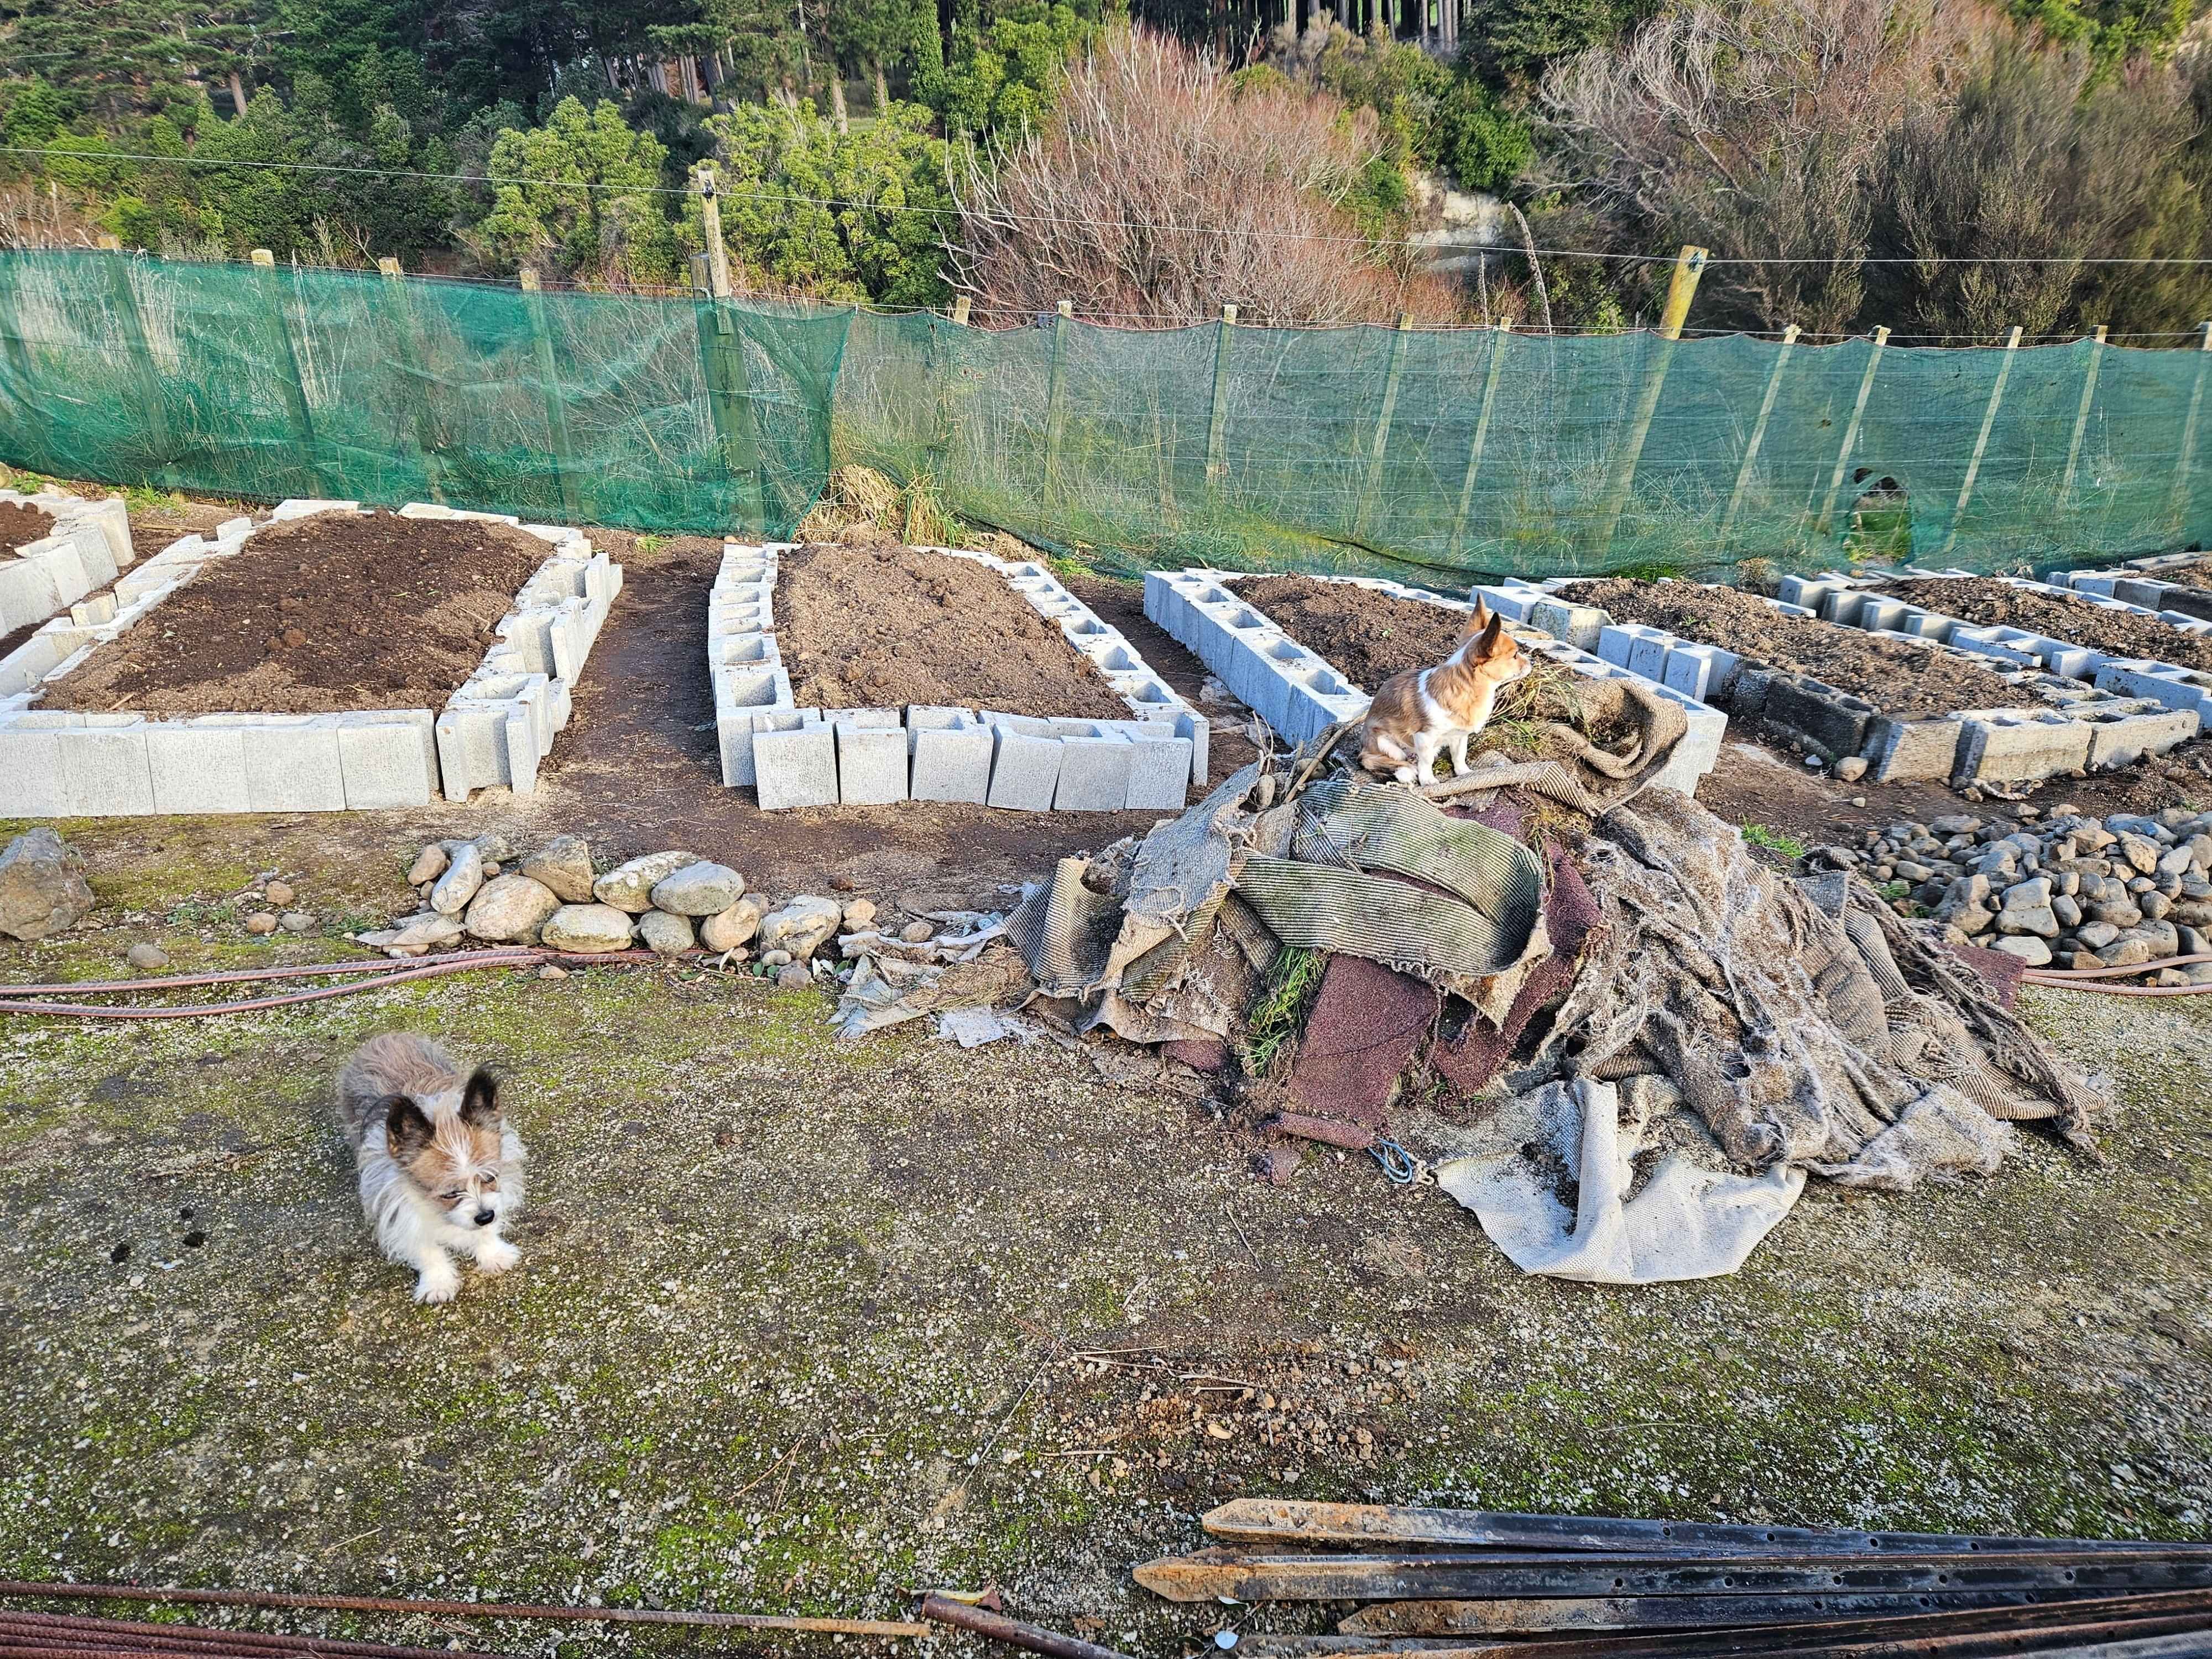
All the old carpet was removed. All the existing dirt was reused. LOTS of shovelling to turn longtitudinal beds into lateral ones. "Ruby" and "Jasmine"not much help, but they kept an eye on me.
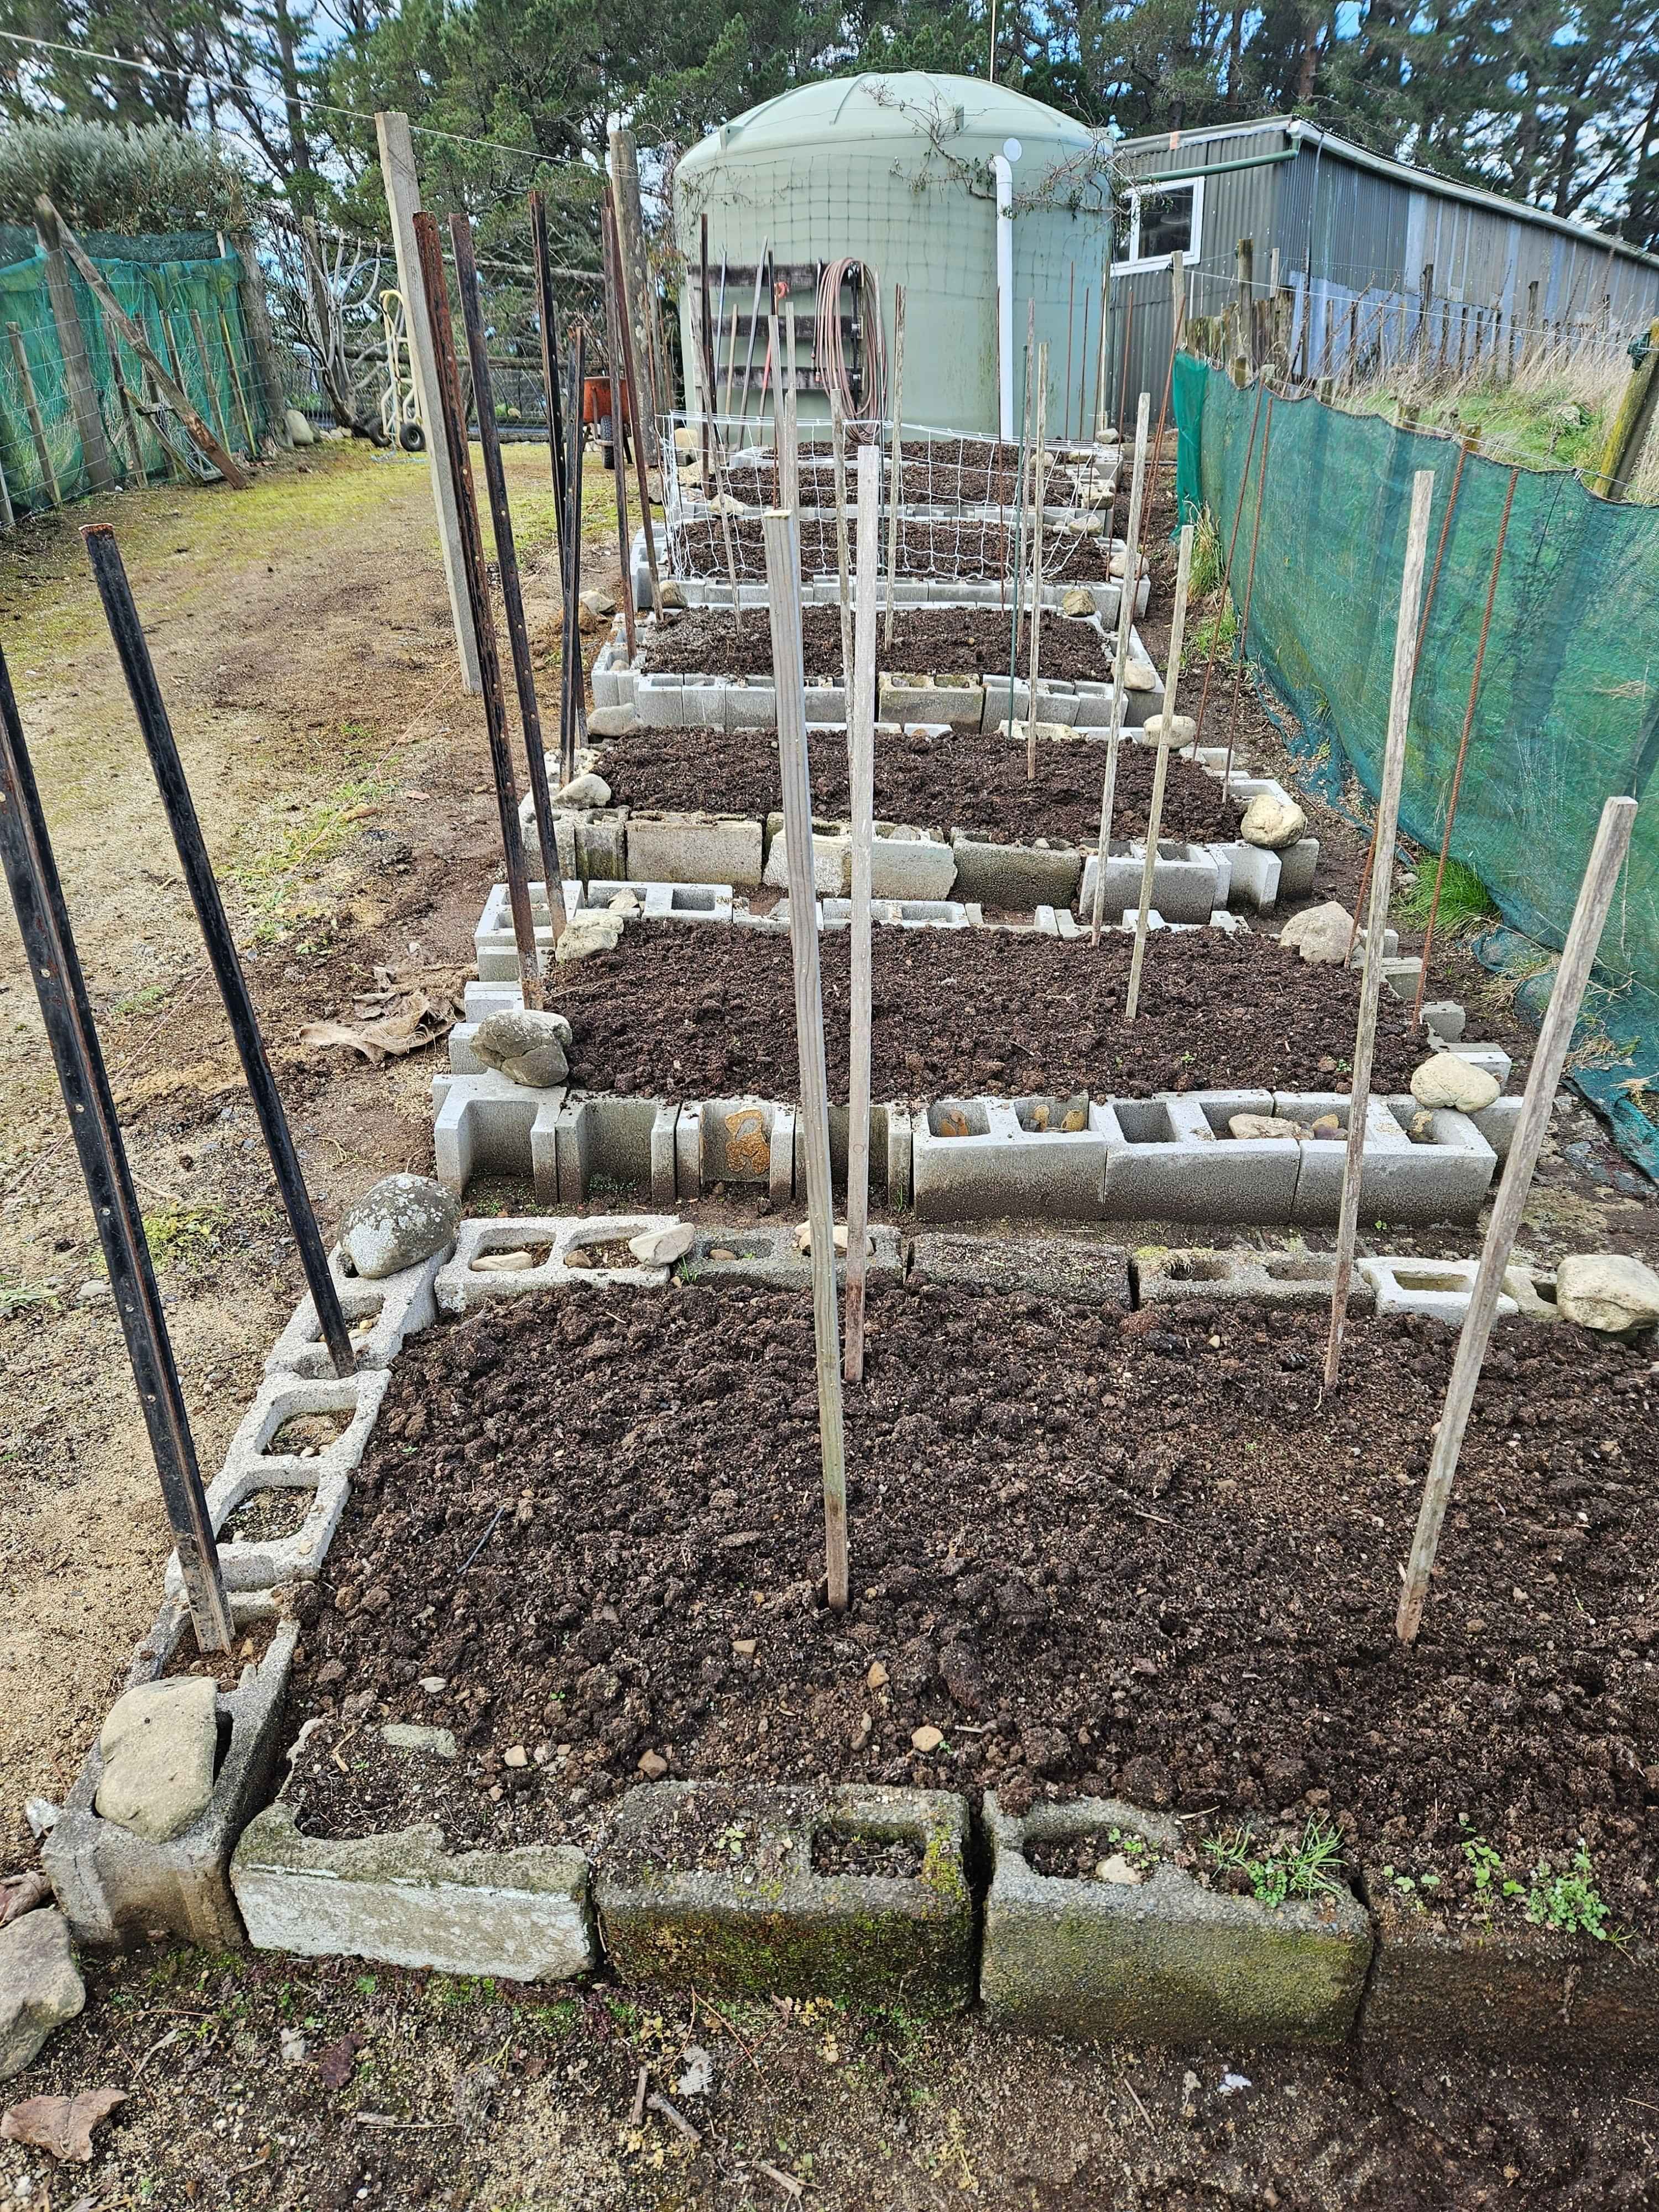
Seven brand new beds! A layer of vermicast on the top and stakes starting to go in. The 4 bottom beds are 2m x 1m and should take 6 plants. The top 3 beds are 2.5m x 1m and should take 8 plants. The beds being raised and on a slope will make things ideal for drainage.
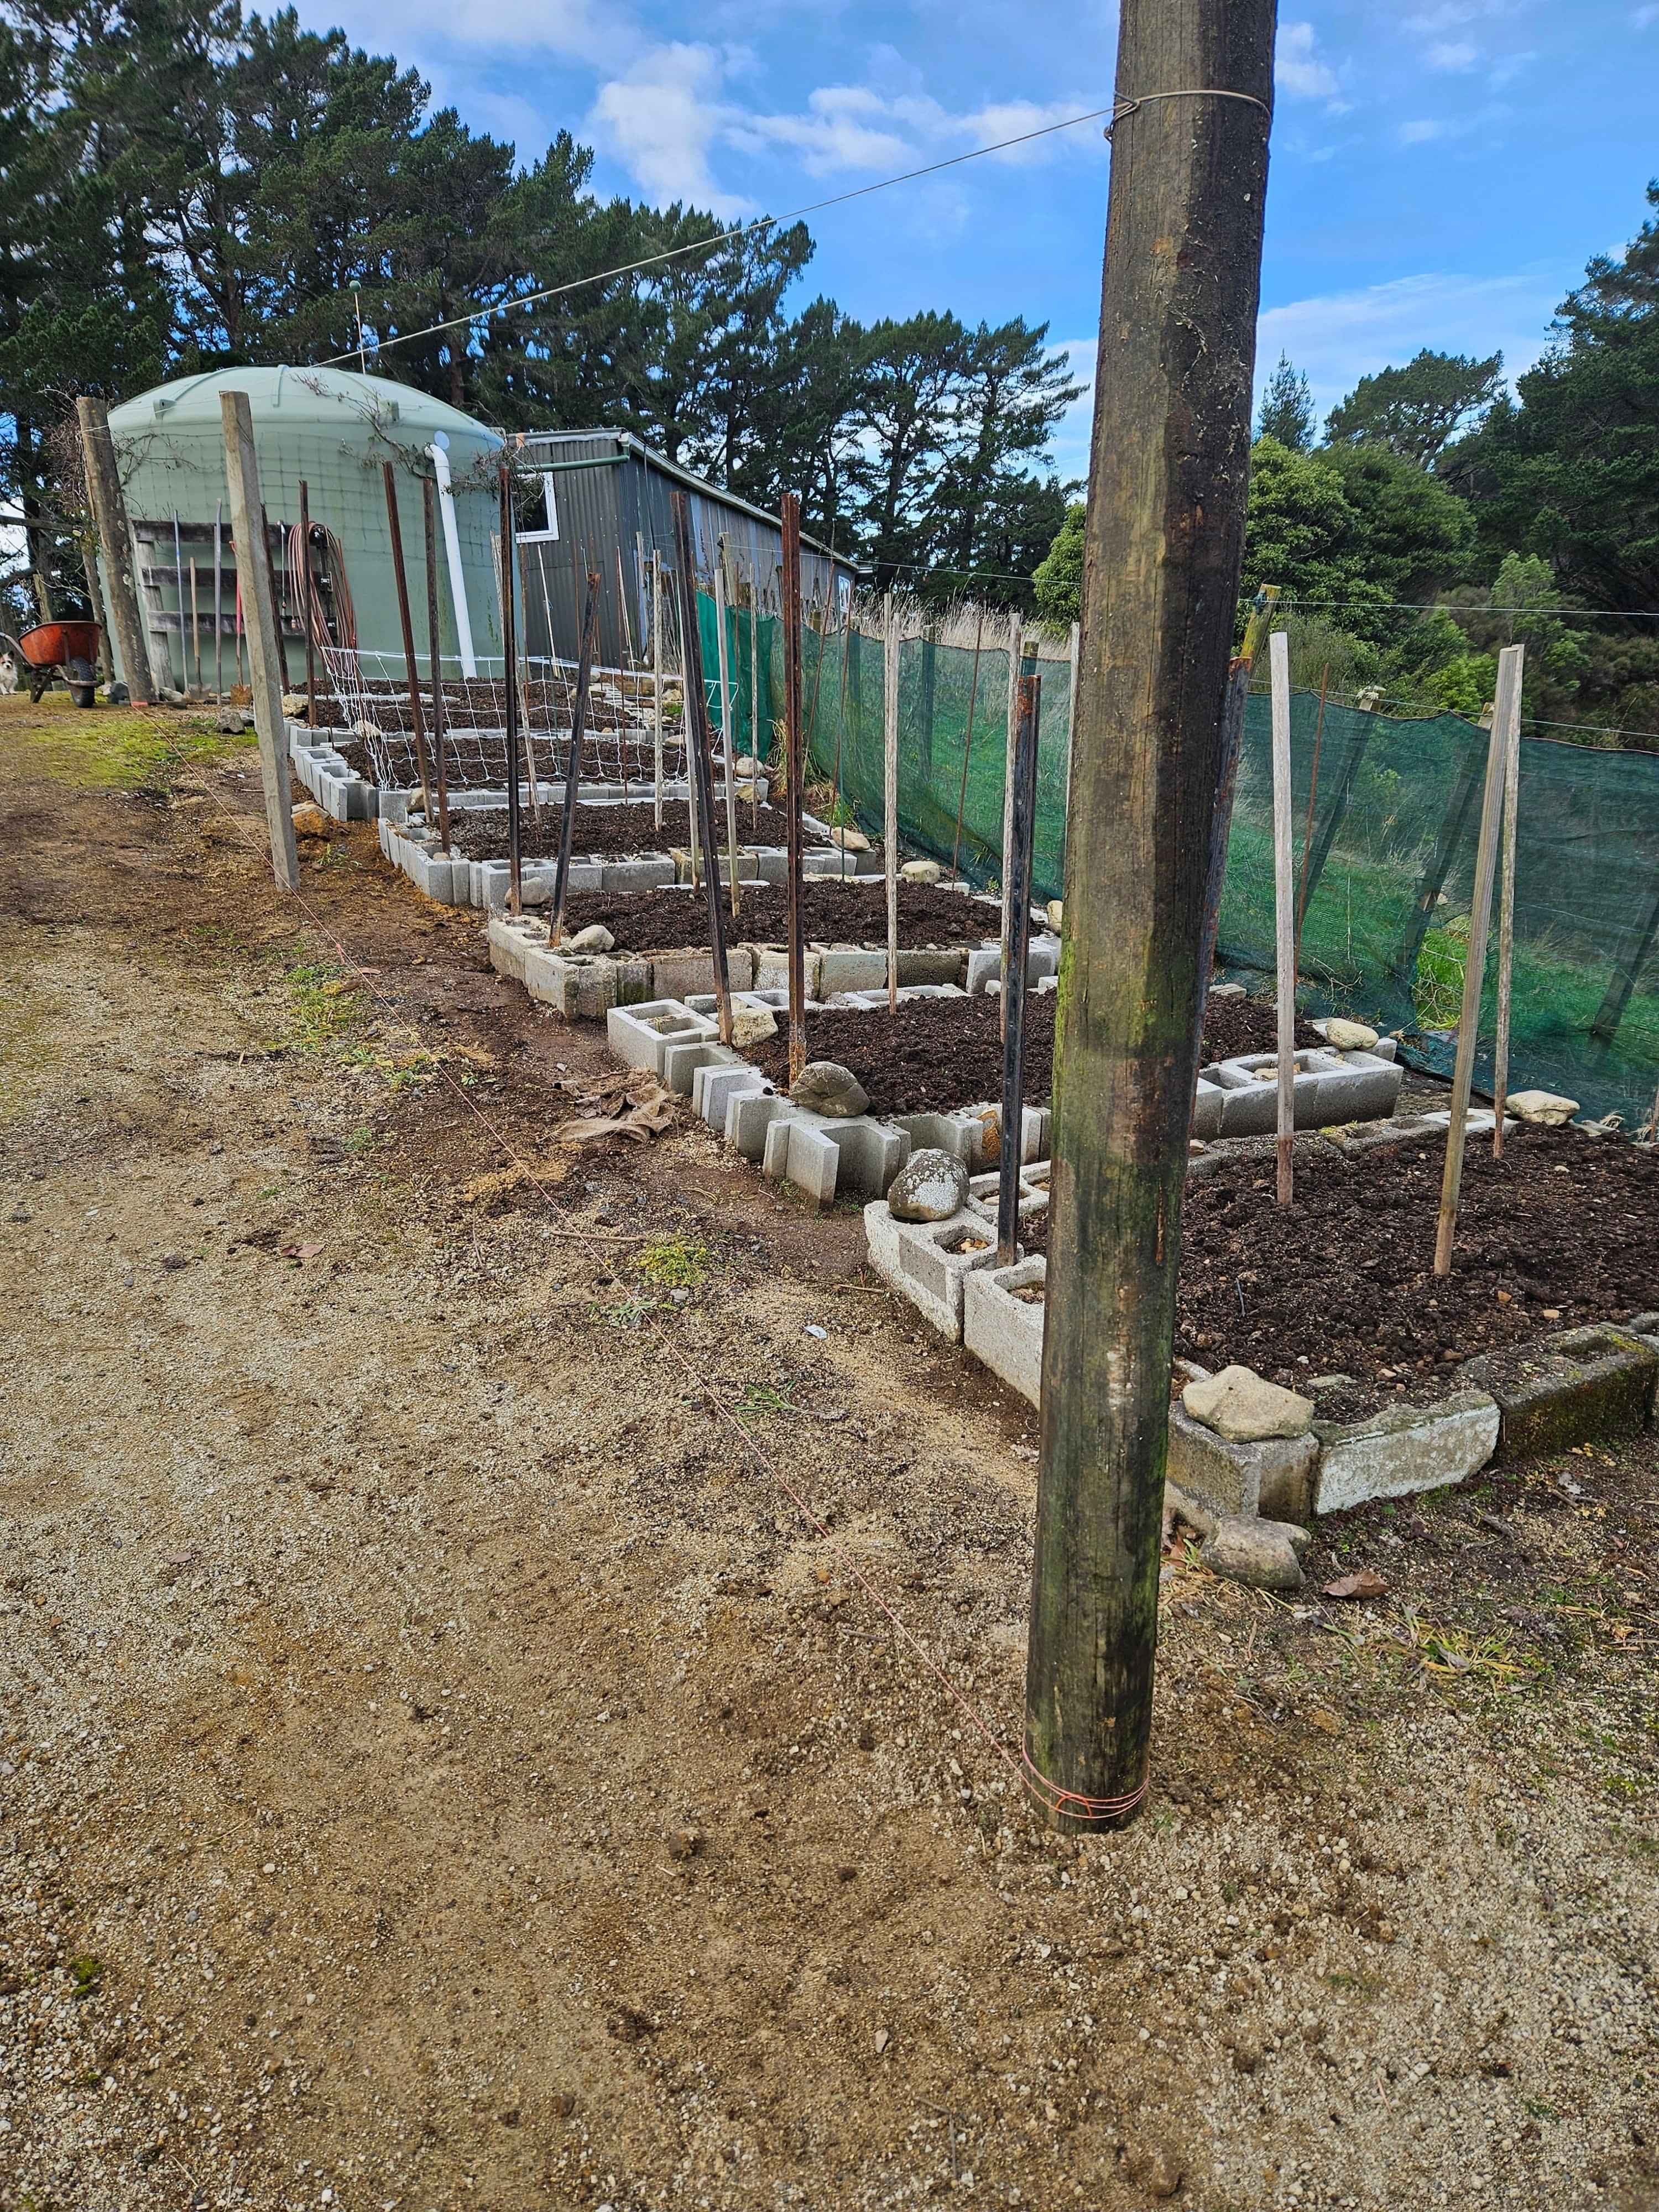
New Posts going in for the wind netting. Two more posts to go and then 7 wires. Netting is 1800 high and I have left enough room for me and a backpack to move round.
The bottom 4 beds will use stakes and ties for support.
The top 3 will use netting. Plants that are low growing or tend to have shorter stems don't do too well with netting.
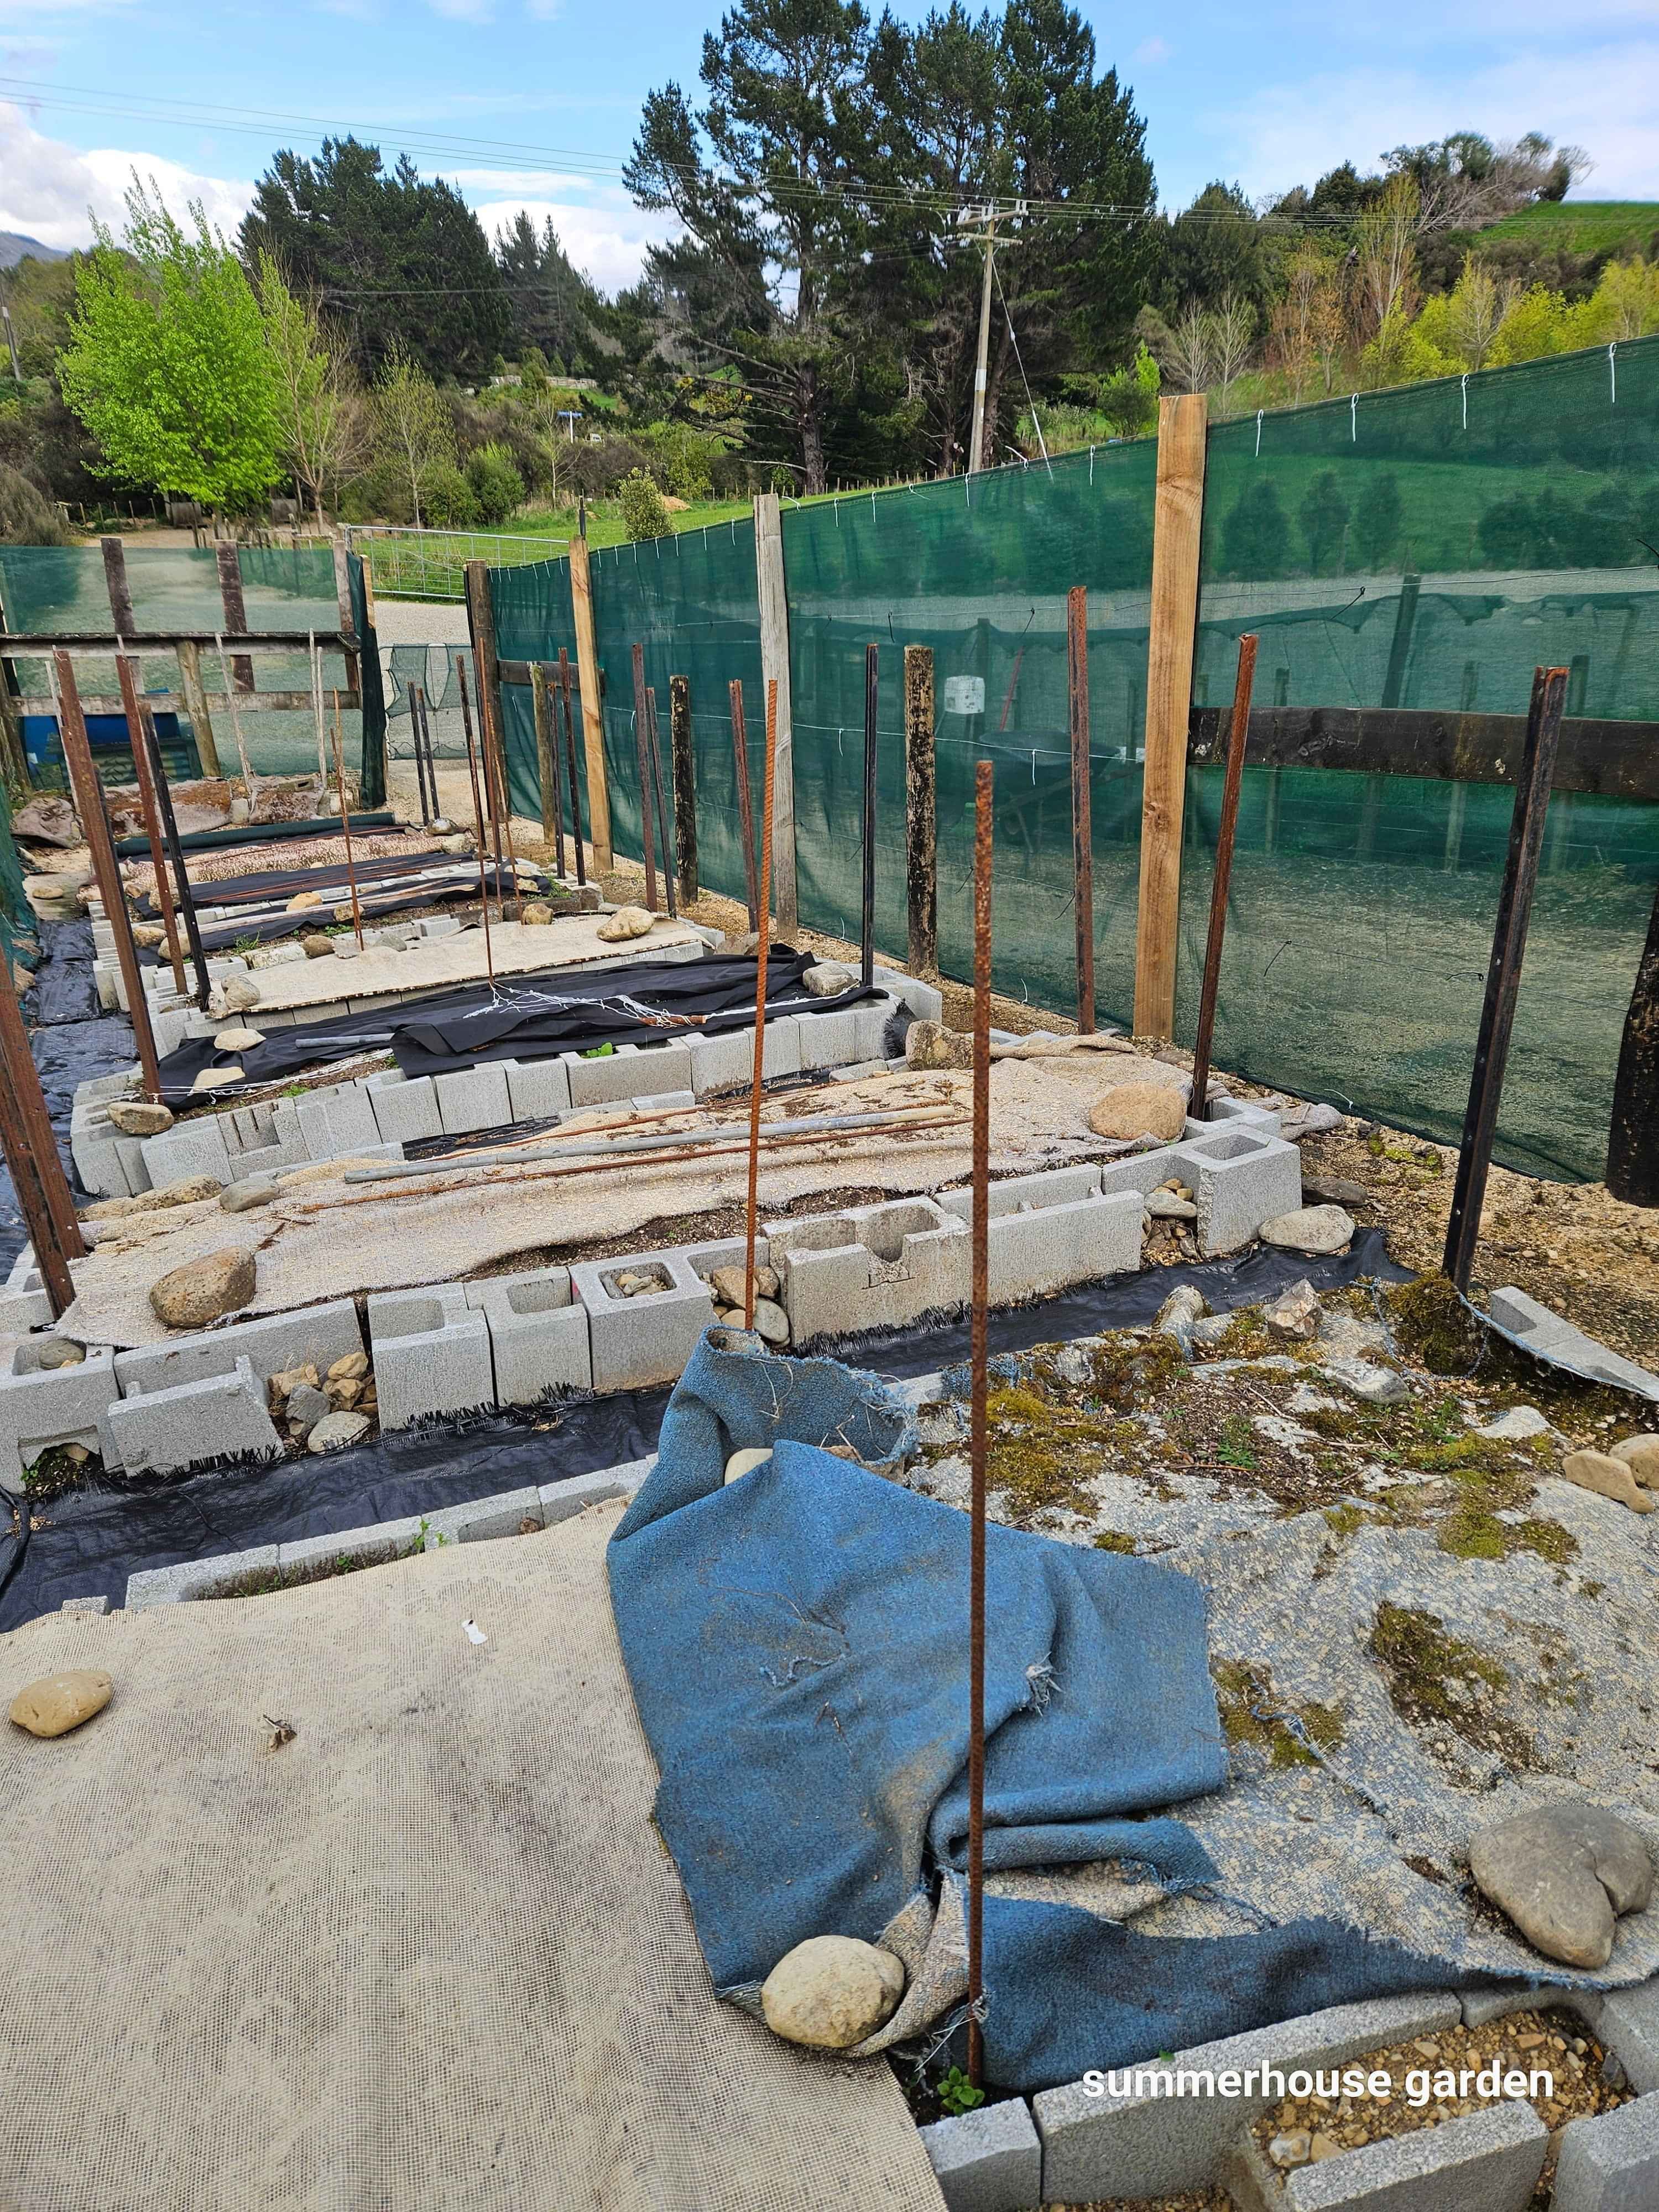
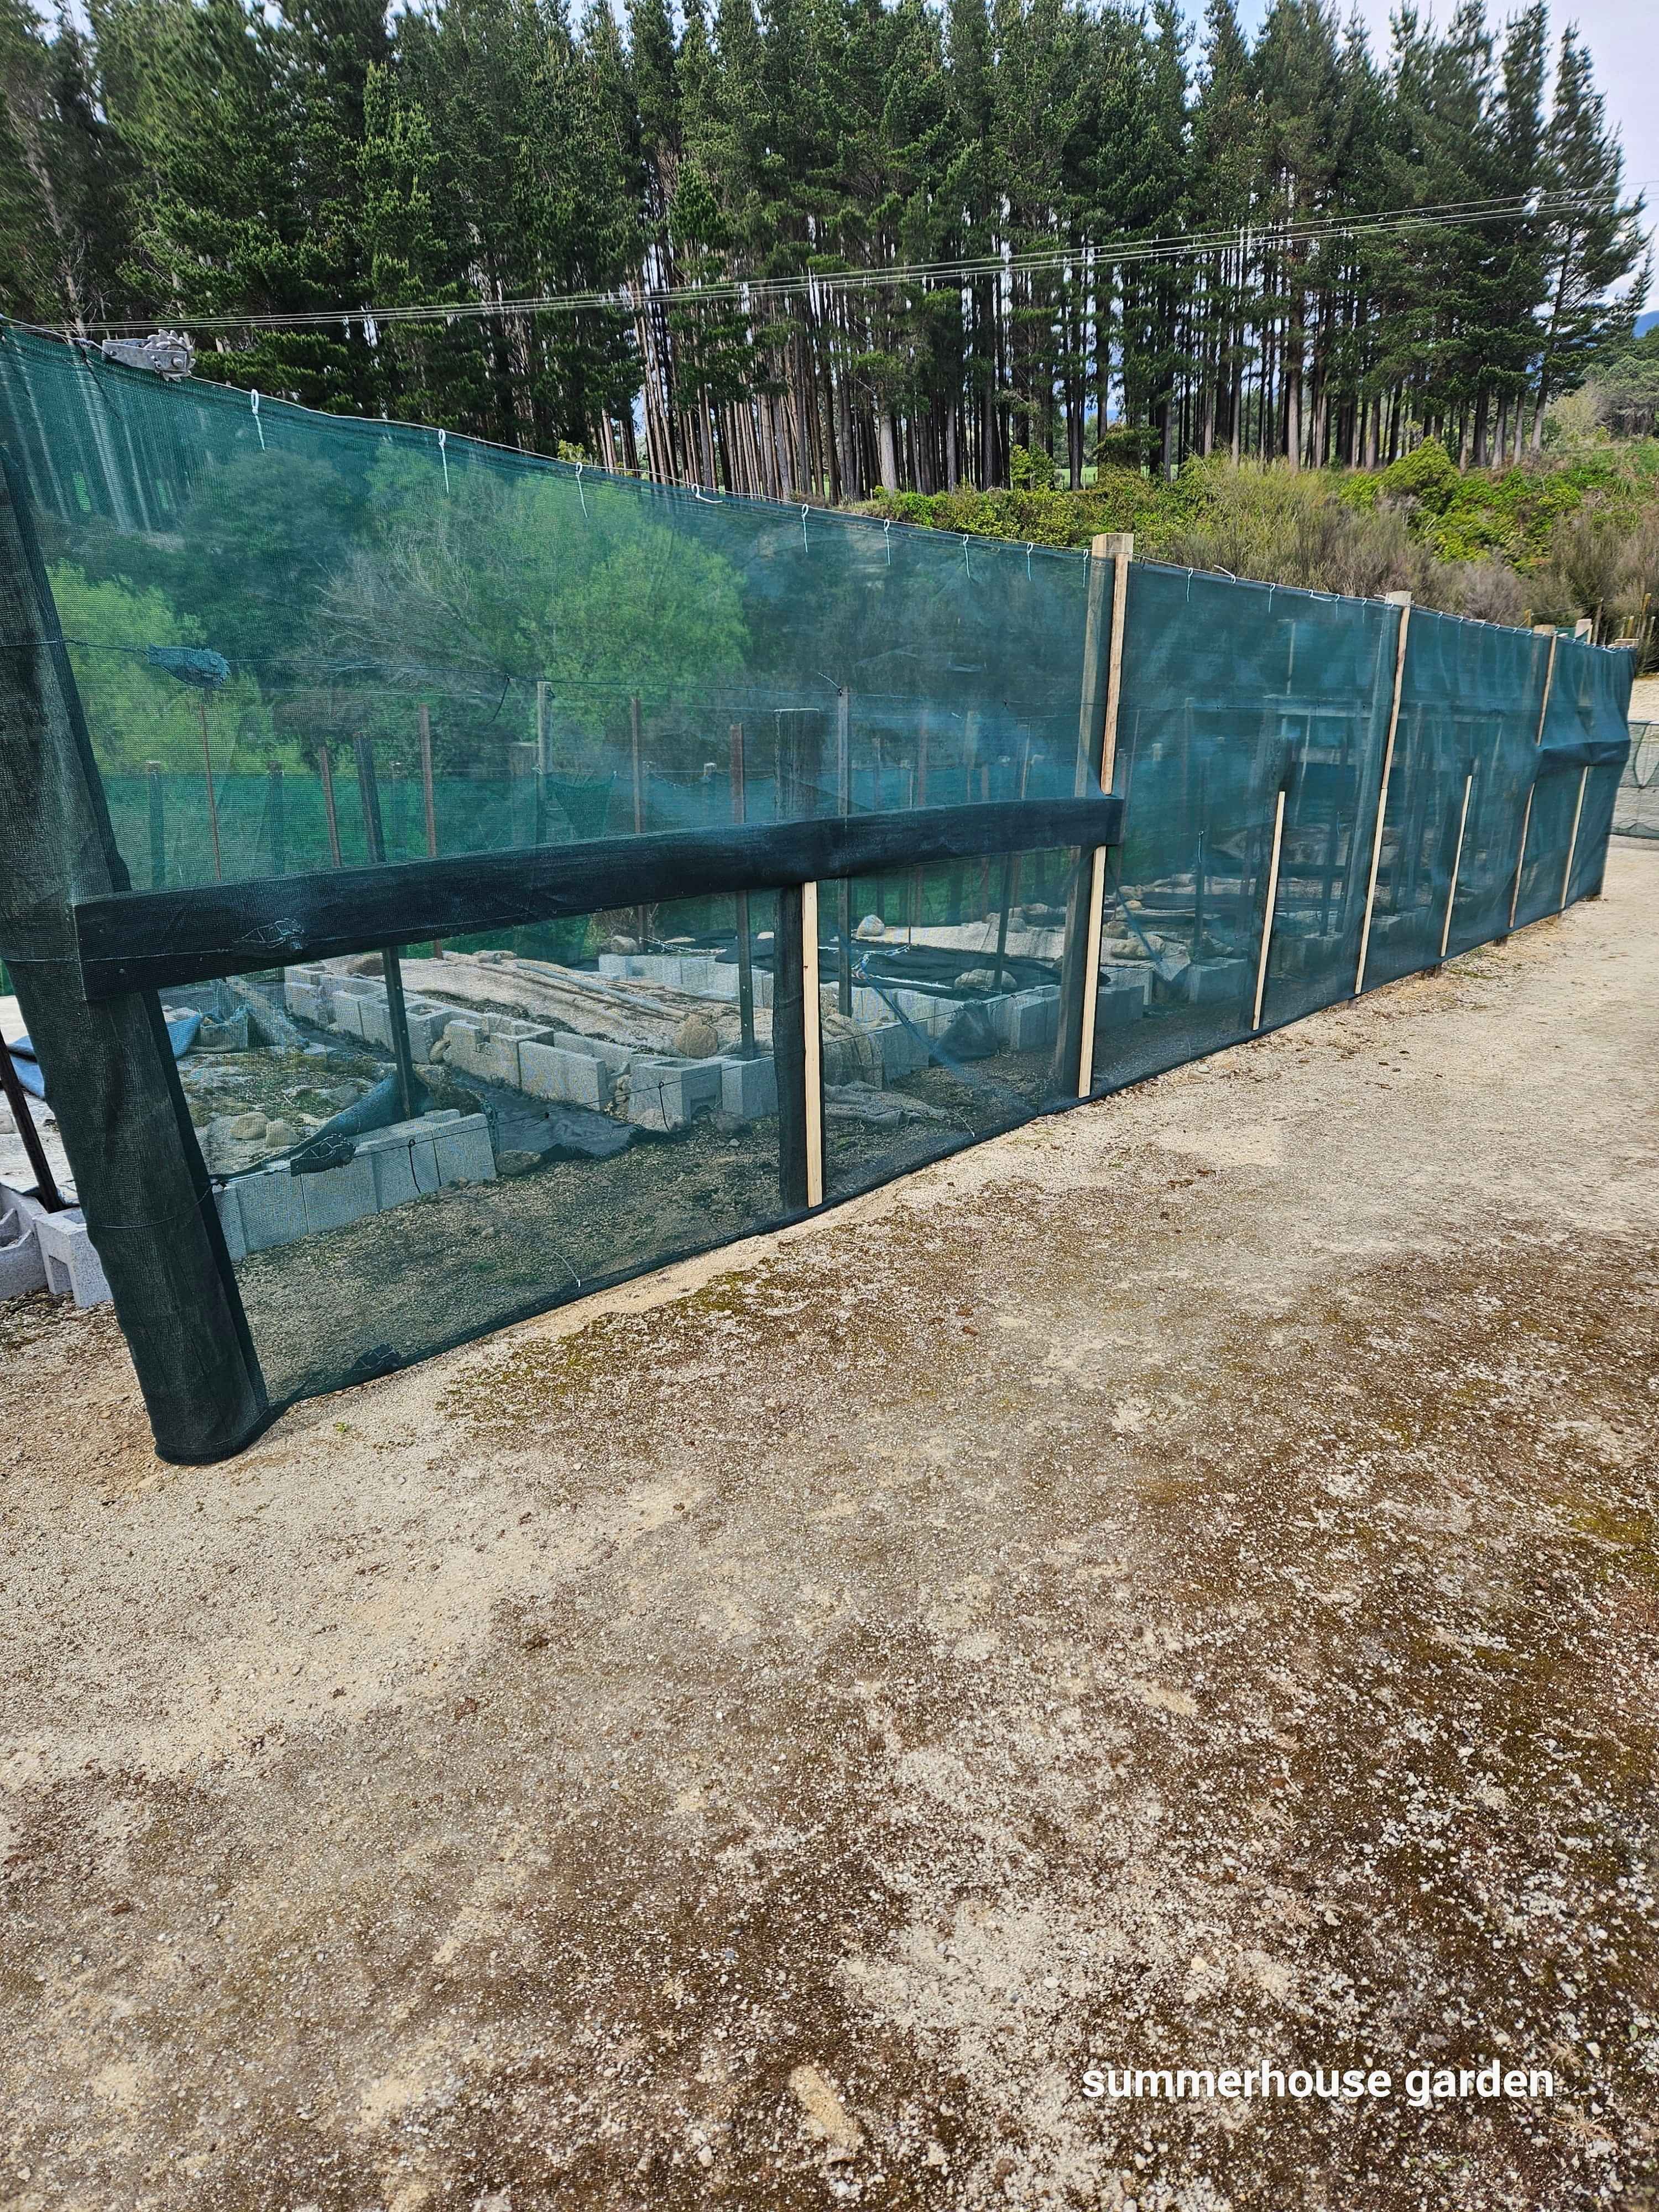
The new fence complete!
Big sturdy posts tall enough to protect the tallest of the plants. Stay posts to take the strain of the wire being tightened. 5 wires. Cable ties to attach netting to wires.
All this might seem a lot but the westerly screams down through this spot and I paid the price of not doing things properly the first time.
The covers on the beds are old carpet and weed matting. After putting vermicast on the beds I then cover them for the winter. No weeds! These covers can then be cut and moved apart just enough to plant in. Still no weeds! Now the shelter is up I might switch to pea straw.
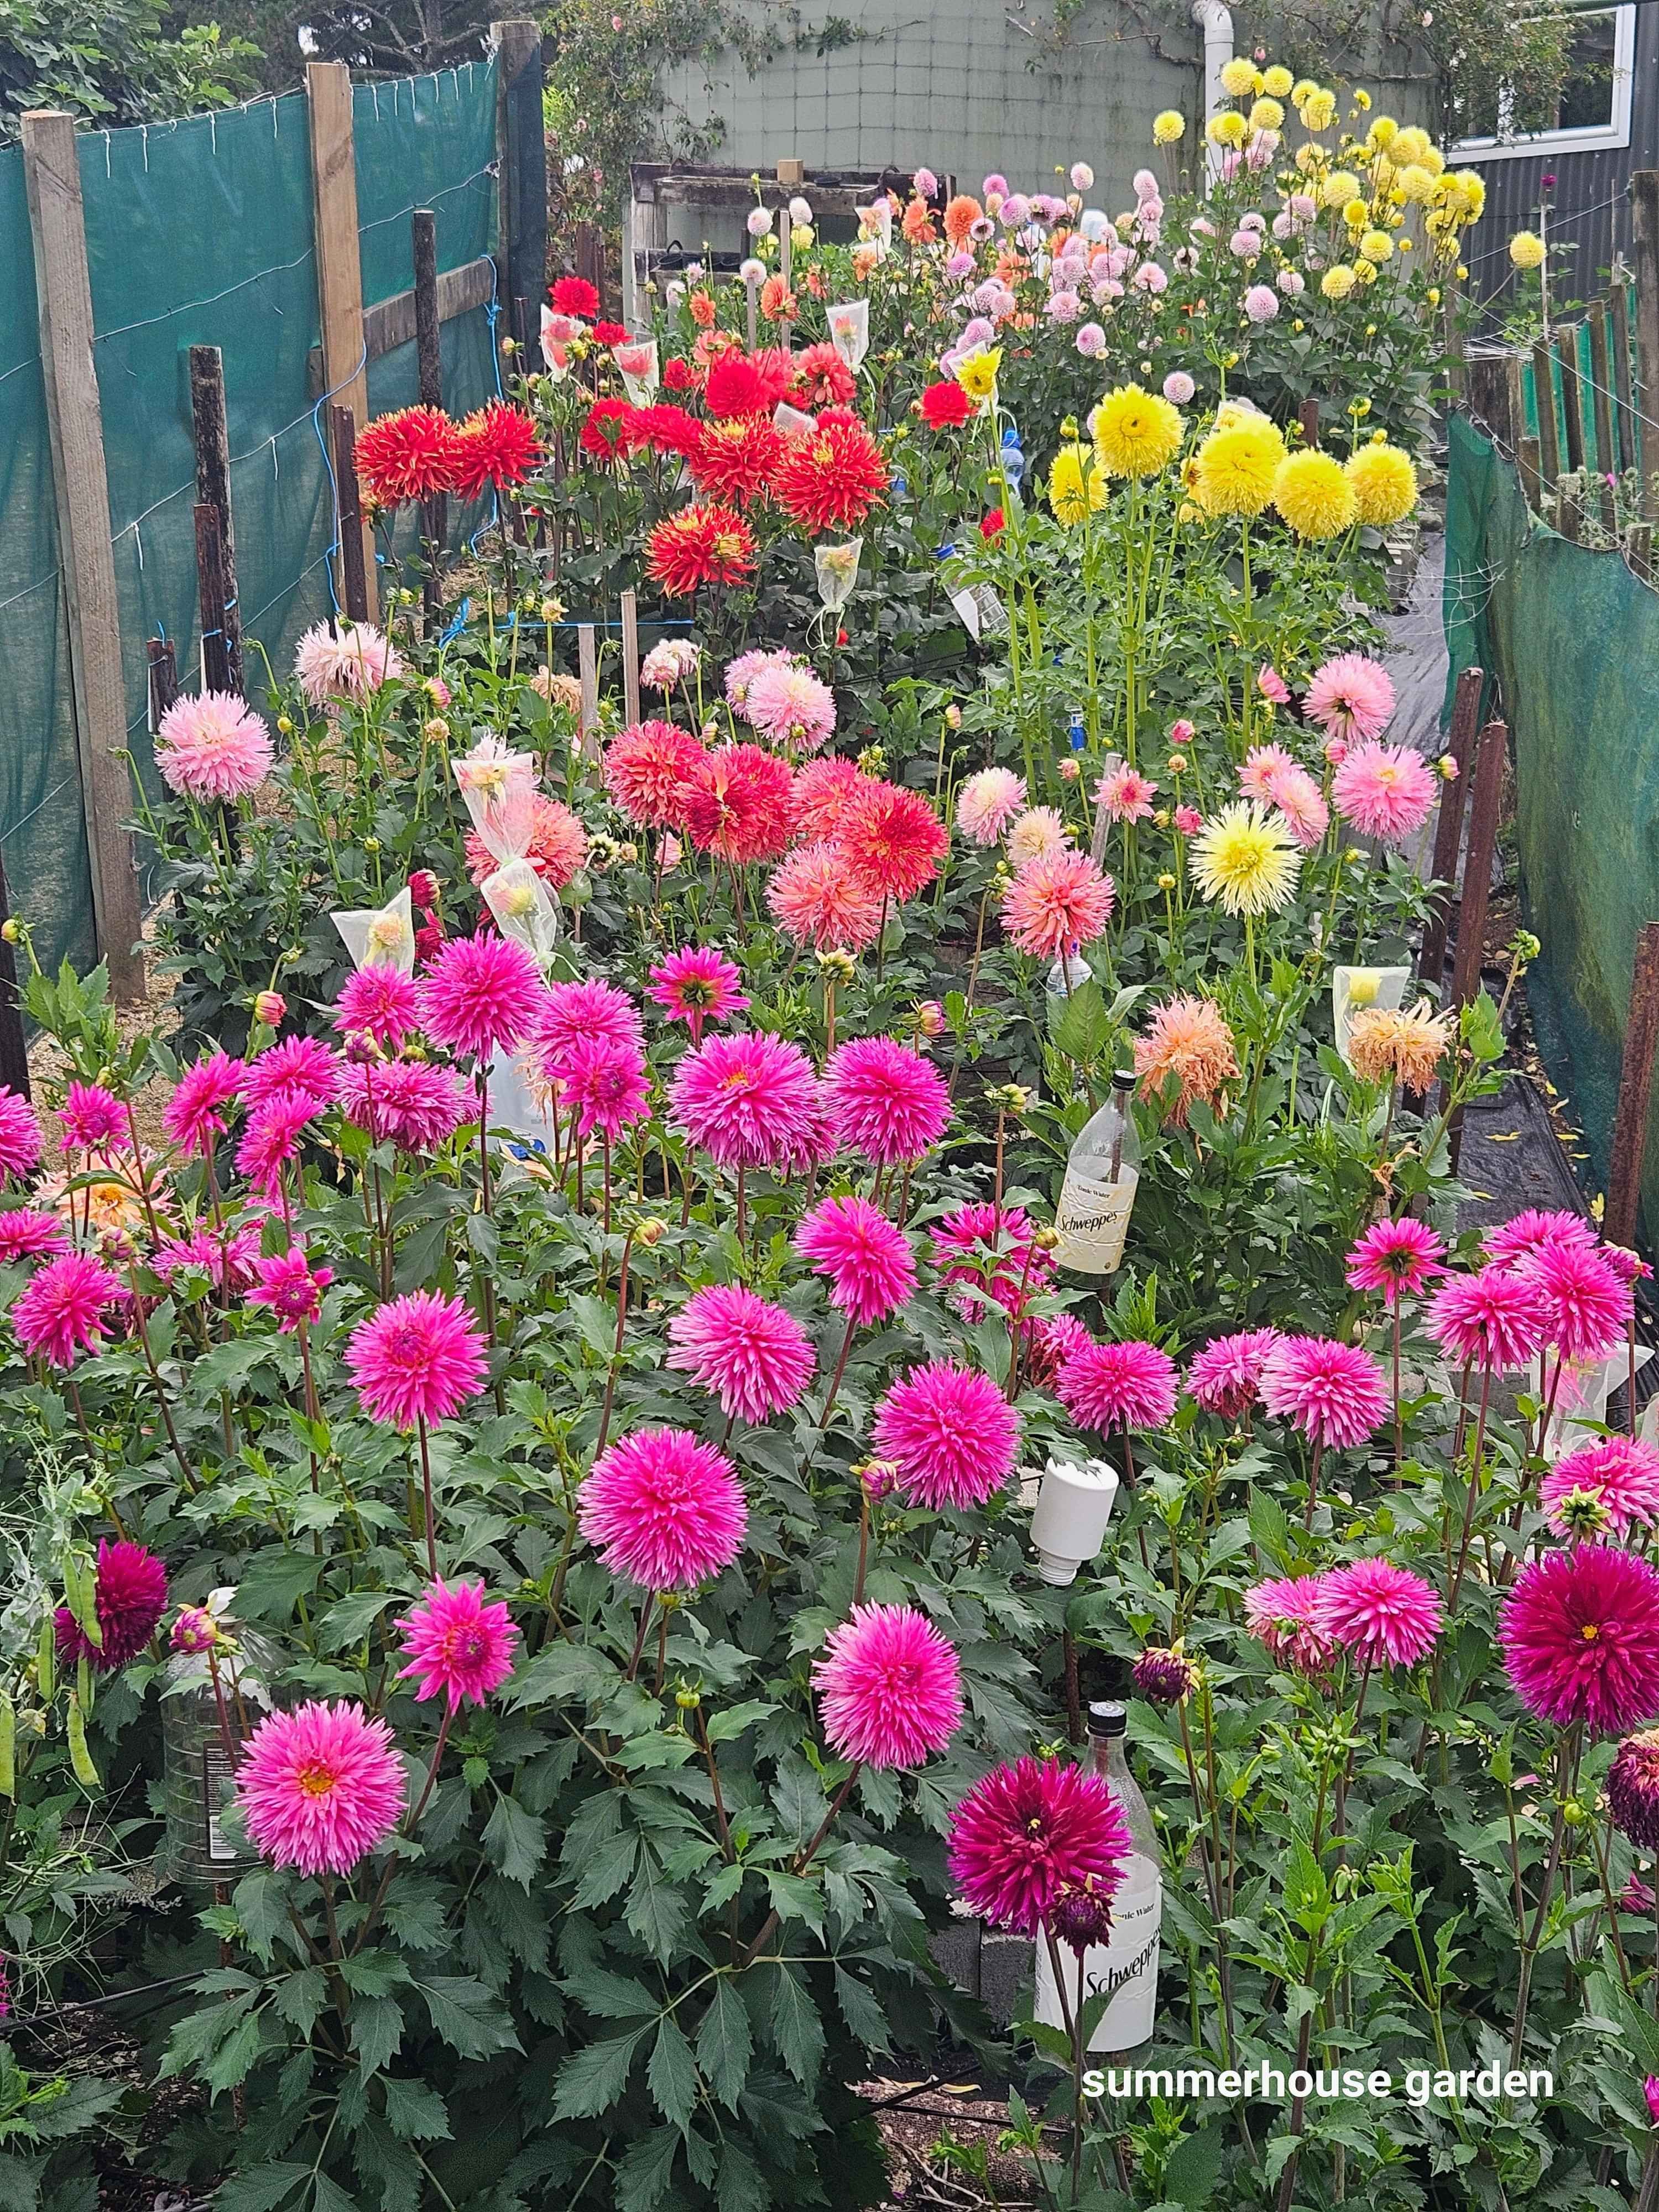
The end result! The bottles are upended onto the rebar steel so I don't get hurt when bending over into nhe beds. The bags are keeping bees out so I can hand pollinate.